What are Purchase Orders?
A purchase order (PO) allows for accurate tracking and organization of services, materials, groups of workers, quantity, and time frame for an order or assignment. When a purchase order is added to the customer record, it can be set to display on the customer's invoice. Once a purchase order is created, it can be attached to an order record, assignment record, or individual transaction.
Creating a Purchase Order
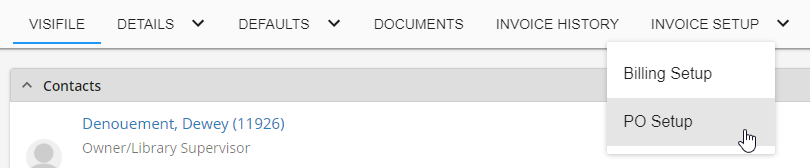
- From the related customer record, select the 'PO Setup' sub-tab within 'INVOICE SETUP' tab:
- Select the + Button:

- This will open the 'Purchase Order' wizard. Input the PO number and PO value:
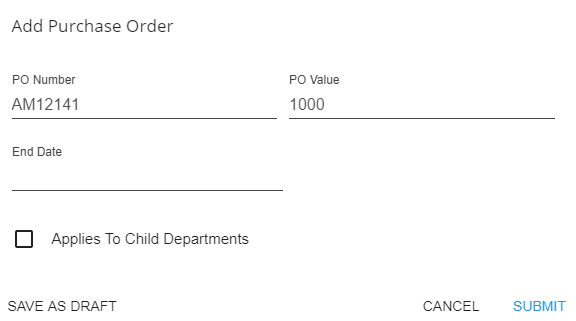


- PO Number: Alpha, numeric, and special characters are valid when defining a PO number.
- PO Value: A PO number does require a value. If your PO number does not have a value, simply enter 0.00
- If a true value is entered (i.e. not 0.00), a "warning amount" will automatically be attached to an added PO number once it is created. The value is equal to 75% of the original value. In our example, we added a value of 50,000.00 so our "warning amount" would be 37,500.00
*Note* The value field does not accept special characters including the dollar sign ($). Values should be entered in simple format, e.g. 50000.00
- End Date: The expiration date of the PO number.
- If an end date is entered, a "warning date" will automatically be attached to an added PO number once it is created. The date is set to 10 days prior to the PO's end date. In our example, we entered an end date of 5/24/2018 so our "warning date" would be 5/14/2018.
- When a PO number has reached it's end date it will no longer be an option in the PO setup drop down (under details) on a new order record; in other terms the PO has expired. However, if the PO was attached to an assignment (prior to it's end date) the PO will continue to be listed on the invoices and reports (etc.).
- Applies To Child Departments: Selecting the 'Applies to Child Departments' option will populate the PO within the customer departments, sub-departments, and allow the PO to be selected on any subsequent orders.
Once done, select submit to add the PO.
Reviewing POs
To see all current PO Numbers for a customer, navigate to Invoice Setup > PO Setup.

Purchase Orders will be listed with different sets of information: 
Select the  to the right of any column and select "Manage Columns" to see a list of columns available:

When reviewing PO numbers, users have the ability to see:
- Assign to Entities
- PO Number
- Amount (Value)
- End (Expiration) Date
- Warning Amount ($)
- Warning Date
- Active/Inactive
- Date Created
- Created By (Service Rep)
- Amount Used
- Applies/Does Not Apply to Child Departments
- Inherited From Parent
- Customer ID/Department ID
- Customer Name
- Department Name
PO Numbers & Invoice Setup
Two standard options exist for handling PO numbers with regards to invoicing.
Option 1- Create Separate Invoices by PO number:
In an invoice run where this feature is selected and there is an instance of more than one PO number being billed to the client, a separate invoice will automatically be created for each PO number being billed in the run.
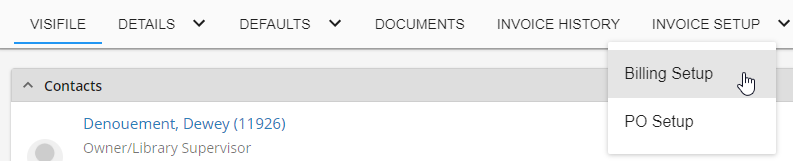
Begin by expanding the 'INVOICE SETUP' tab and locating the 'Billing Setup' tab within the customer record:
Locate the 'Separate Invoices' card. Select the  button:
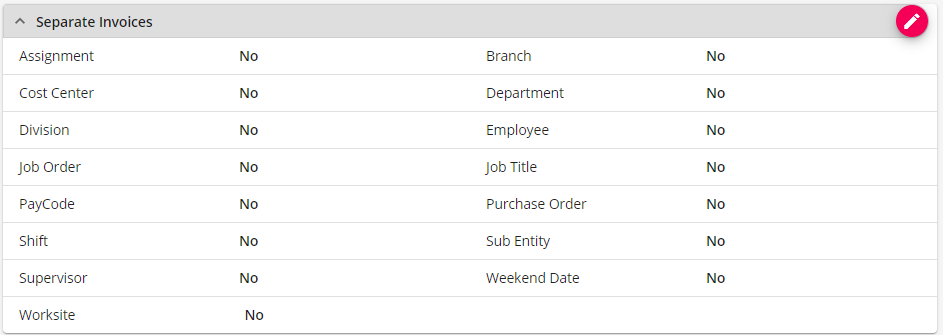
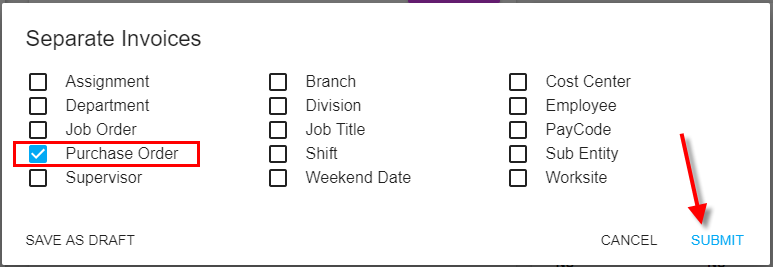
Select 'Purchase Order' and click 'SUBMIT':
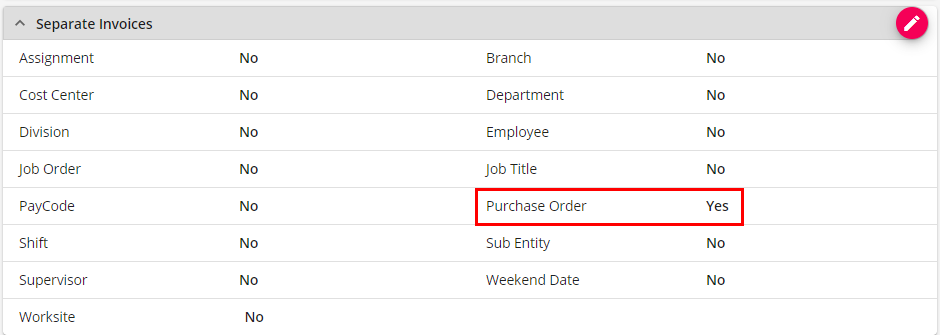
 The 'Separate Invoices' card will now display that different purchase orders will be split into separate invoices:
Option 2- Adding PO Number as a Line Item on Invoices:
Selecting this option will allow customers to view all associated PO numbers, per line item, on one invoice.
*Note* The ability to for an additional line item to be added/displayed will be dependent upon what invoice styles have been selected or created for your company.
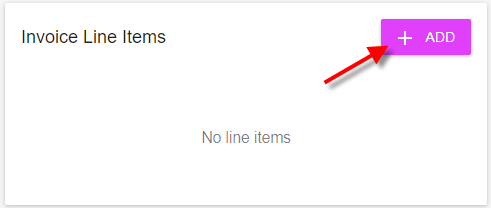
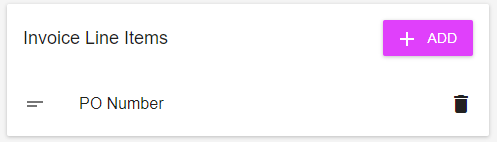
From the 'Billing Setup' sub-tab, select '+ ADD.' This will add a new item from the Invoice Line Items box:
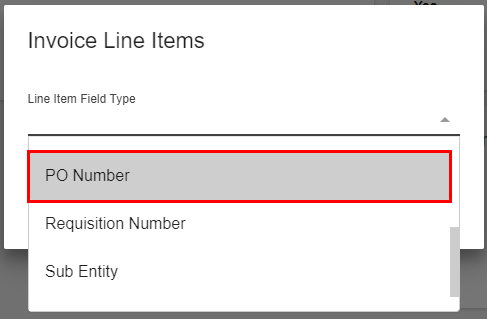
From the 'Line Item Field Type' drop-down, select 'PO number,' and click 'SUBMIT':
The Invoice Line Items card will display any current items displayed per transaction:
Attaching PO Numbers to Orders and Assignments
Once a purchase order has been added at the customer level, it can be attached to orders, assignments, and timecards for that customer.
Orders
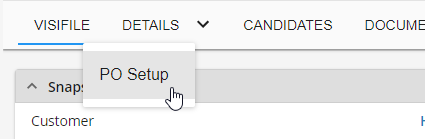
Within the order, select the 'PO Setup' sub-tab within the 'DETAILS' tab:
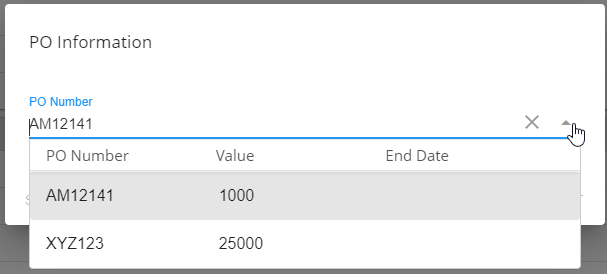
Locate the 'PO Information' card and select  button:

From here, the 'PO Number' field can be edited/updated with any PO number that is active from the customer record.
Assignments
Within the assignment, select the 'DETAILS' tab:

Locate the 'Financials' card. Select  :
:
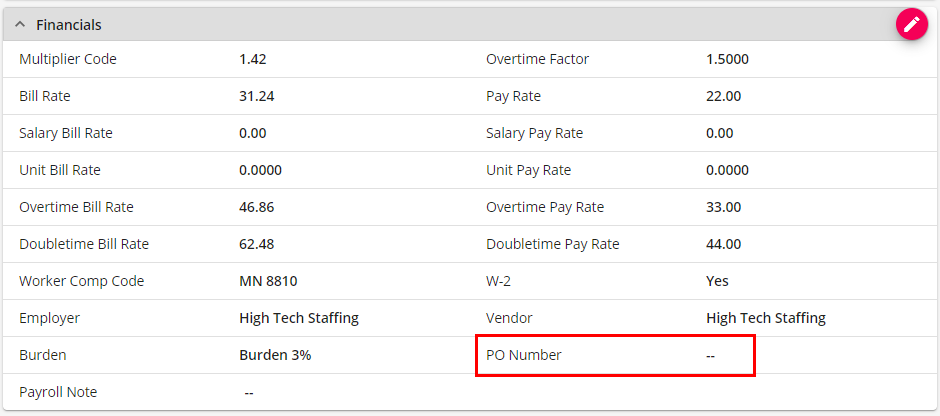
Select the 'Purchase Order Number' field. This drop-down will display any active PO numbers from the related customer record.
Updating PO Numbers in Mass
Once created, a PO number can be assigned to job orders, assignments, and timecards in mass by selecting the 'Assign' button located under the ellipses on the right of the PO Number:

Once selected, a wizard will appear prompting the user to assign the PO number to all job orders, assignments, and/or timecards. Any combination may be selected, for instance, perhaps the client gives you a new PO number each week. This can be a useful tool once all timecards are created to apply a new PO number for the week: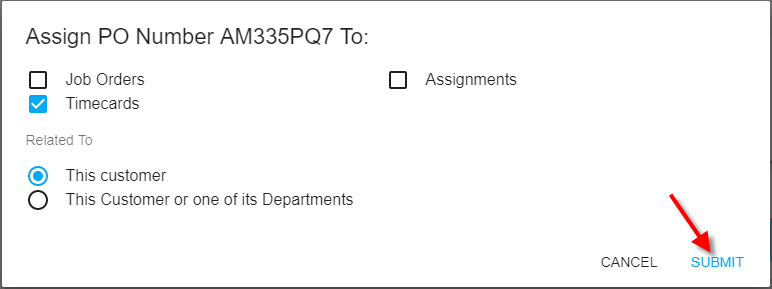
Users are able to update records related to the current customer record or they can also choose to include its departments.