What is a Vendor?
There are two basic types of vendors:
- Subcontractor Vendors - These are 3rd party staffing agencies or other providers that are sending their employees to fill some of your orders. Because these employee's do not belong to your staffing agency, the payroll for these people will be consolidated into a payment to the agency. The agency is then responsible for paying and preparing tax documents for their employees. Check out Vendors - Subcontractors in Beyond for more information.
- Independent Contractors (1099 Employees) - These individual employees are registered as independent contracts. Your staffing company pays the employees but the employees will be responsible for their own taxes. Instead of receiving a W-2, these employees will receive a 1099 form.
In both cases, the client is not responsible for the taxes of the 1099 employee or employees of the 3rd party staffing company.
*Note* If you utilize custom Security Groups with Advanced Permissions, please add the Access to the "Vendor" pages/forms/cards to the Security Groups that require the functionality:
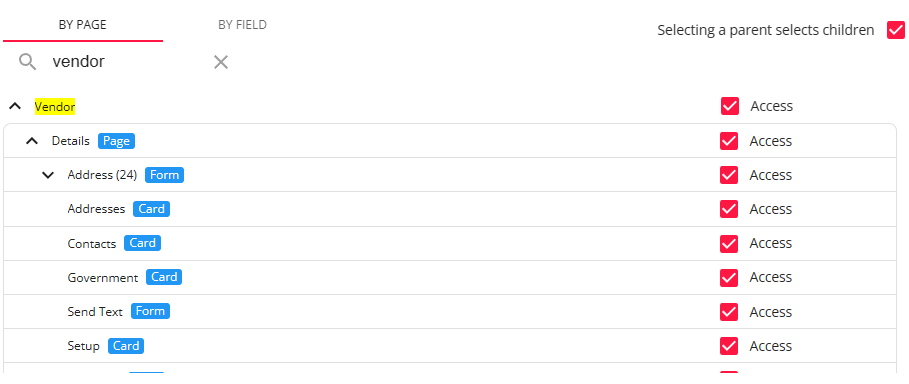
For more information on created custom Security Groups with Advanced Permissions, please see the following article titled "Beyond - Creating Security Groups with Advanced Permissions".
This article covers:
- Creating a 1099 Vendor Record
- Linking the Independent Contractor Employee Record
- 1099 Payroll Overview
Creating a 1099 Vendor Record
In order to classify the independent contractor as a 1099 employee. You will need to create a Vendor record for them. In this case, the vendor record will be set up with a one to one relationship meaning one vendor record for one independent employee. This will allow the employee to receive a 1099 form at the end of the year instead of a W2.
To Create a New Vendor Record:
- In Beyond, Navigate to B Menu > Records > Vendors
- This will open the Vendor search, allowing you to search for a specific Vendor record or create one:

- Select "+ Add a New Vendor" to open the "New Vendor" window:
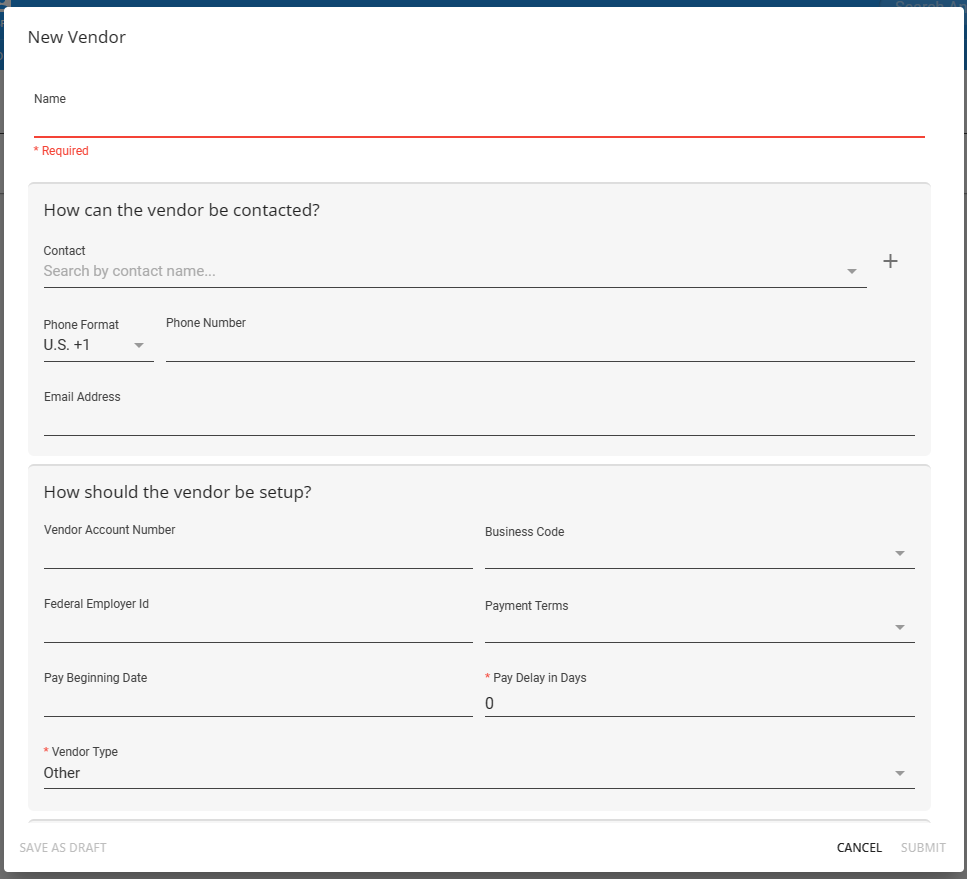
- Enter the following information:
- Name
- Name: The name of the Vendor record (usually match employees name for 1099 employees)
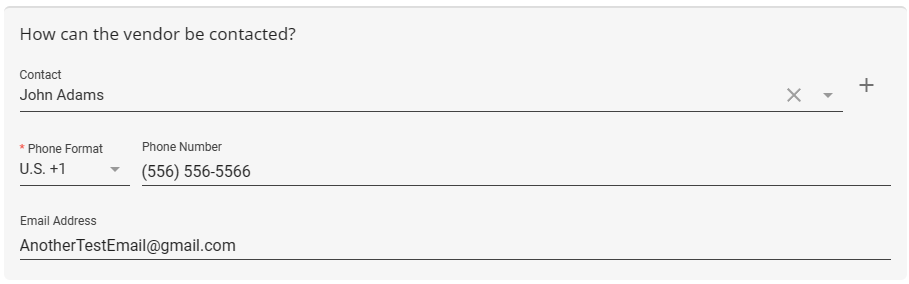
- How can the vendor be contacted?
- Contact: Either select a Contact record from the dropdown, or select the "+" to create a new Contact record.
- Phone Number: The phone number of the Vendor record.
- Email Address: The email address of the Vendor record.
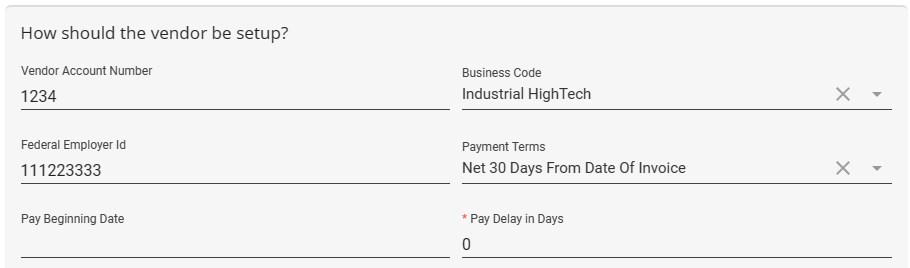
- Vendor/Subcontractor Setup
- Vendor Account Number: Optionally, enter an account number for your records with the Vendor.
- Business Code: Optionally, select the type of business - This option can be used for reporting.
- Federal Employer ID: Enter the FEID or SSN for the Independent Contractor.
- Payment Terms: Optionally, select your payment terms if needed for record keeping purposes.
- Pay Beginning Date: Do not enter a date here for 1099 employees.
- *Pay Delay in Days: Enter 0 for this to ensure your 1099 employees are paid on time.
- *Vendor Type: Type: Select "1099 Employee". Once this option is selected, you have one of two options:
- If the "Is there an existing Employee record for this vendor" option is not selected (default), a new employee record will be created and automatically linked to this new vendor record.

- If the "is there an existing Employee record for this vendor" option is selected, you will be able to search for the intended employee record and link it to this new vendor record. Employee records that are already associated with a vendor will not appear within the search as only one employee record can be linked to a single vendor record.

- If the "Is there an existing Employee record for this vendor" option is not selected (default), a new employee record will be created and automatically linked to this new vendor record.
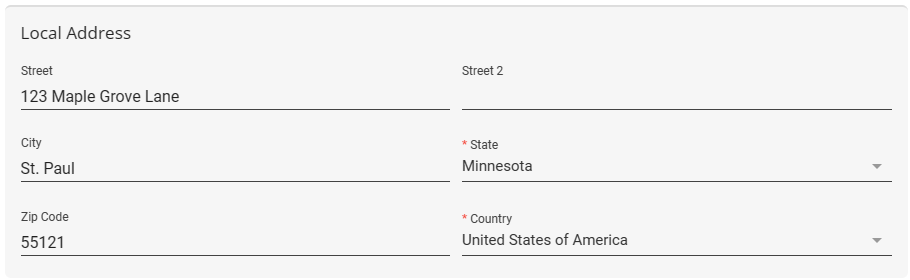
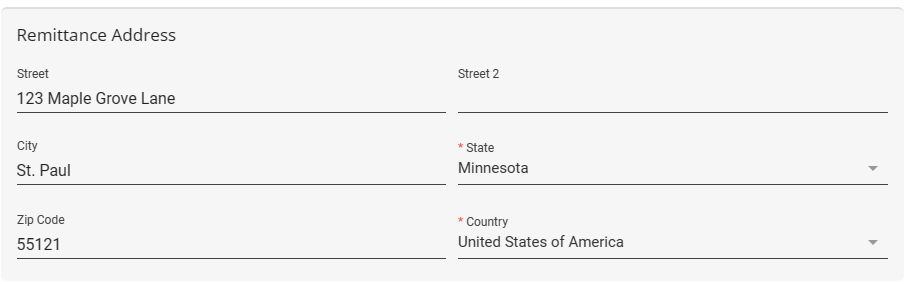
- Corporate/Local/Remittance Addresses: (The addresses here will be used to generate the 1099 for this employee)
- *Corporate Address: Main address for the Independent Contractor (typically all the addresses here will be the same for 1099 employees so use the copy button next to the local and remittance address to copy the corporate address).
- *Local Address: Enter a local address if applicable for the 1099 employee.
- *Remittance Address: Enter an address for Remittance purposes.

- Name
- Enter any notes within the "Notes" field if necessary.
- Select Submit once all of the information has been added.


Review the 1099 Vendor Record Details
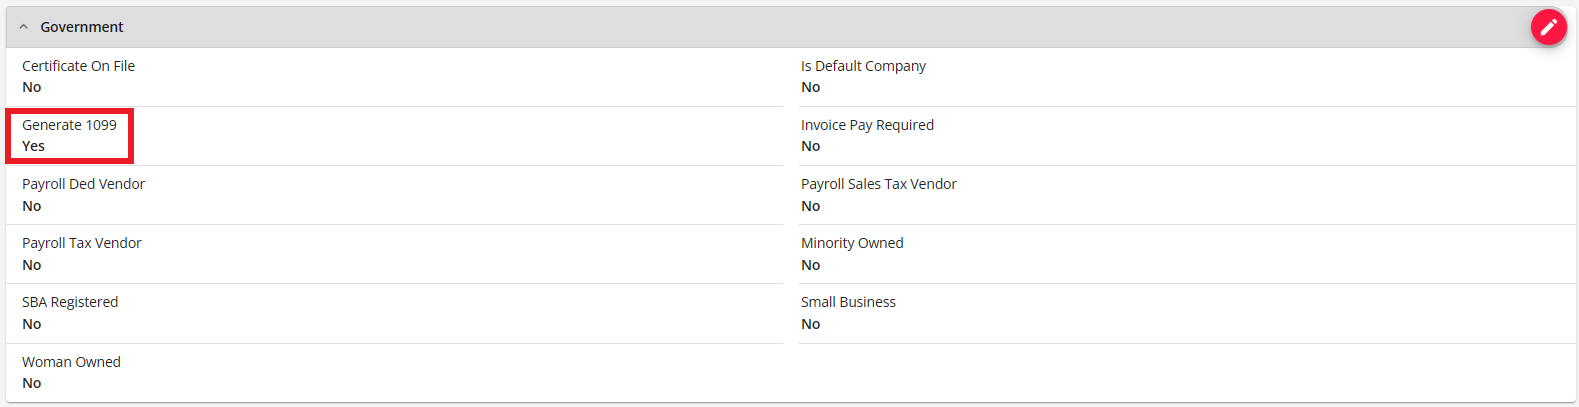
Now that the record is created, it's important to note the following items:
- Government: For 1099 employees, the "Generate 1099" field must be "Yes". This will ensure a 1099 is generated at the end of the year for the employee.

Linking a 1099 Employee to an Employee Record
New to Beyond, instead of having to manually create an employee record to be linked to the vendor record, this is automatically done when creating the 1099 vendor record following the instructions above.
Therefore, once the vendor record has been created by selecting "1099 Employee" as the "Vendor Type", the 1099 employee record is created and can be selected via the vendor record details, within the "Employee" field of the "Setup" card:
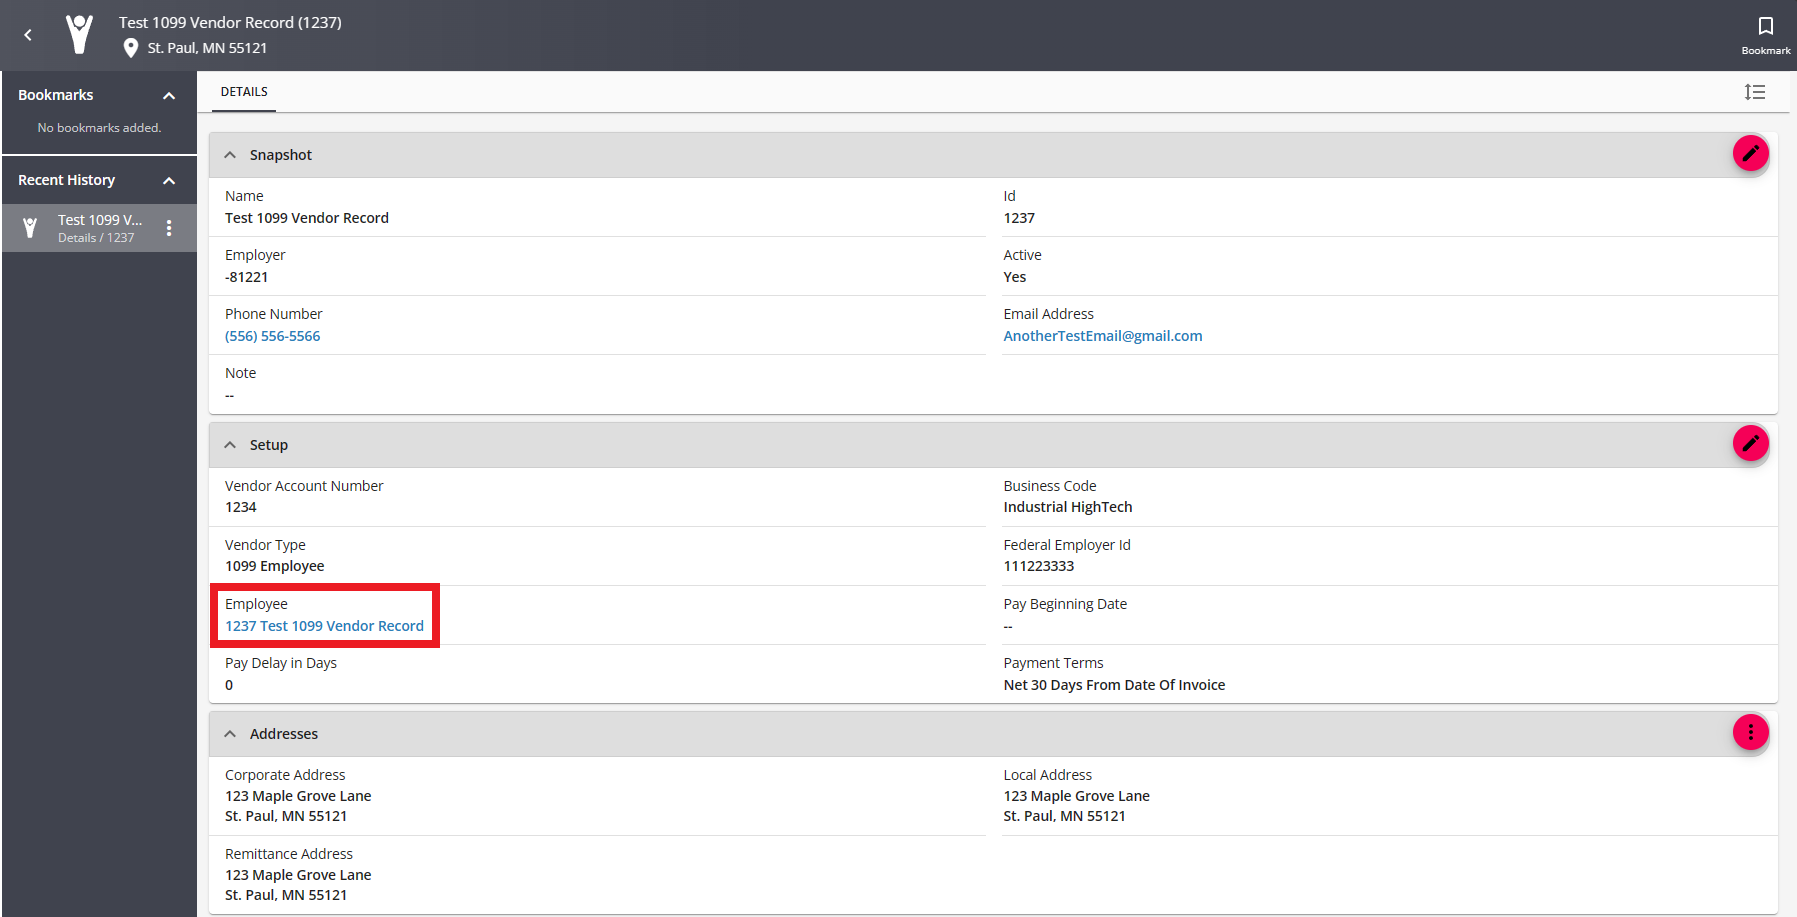
The name of the Vendor will appear under the employee's name:

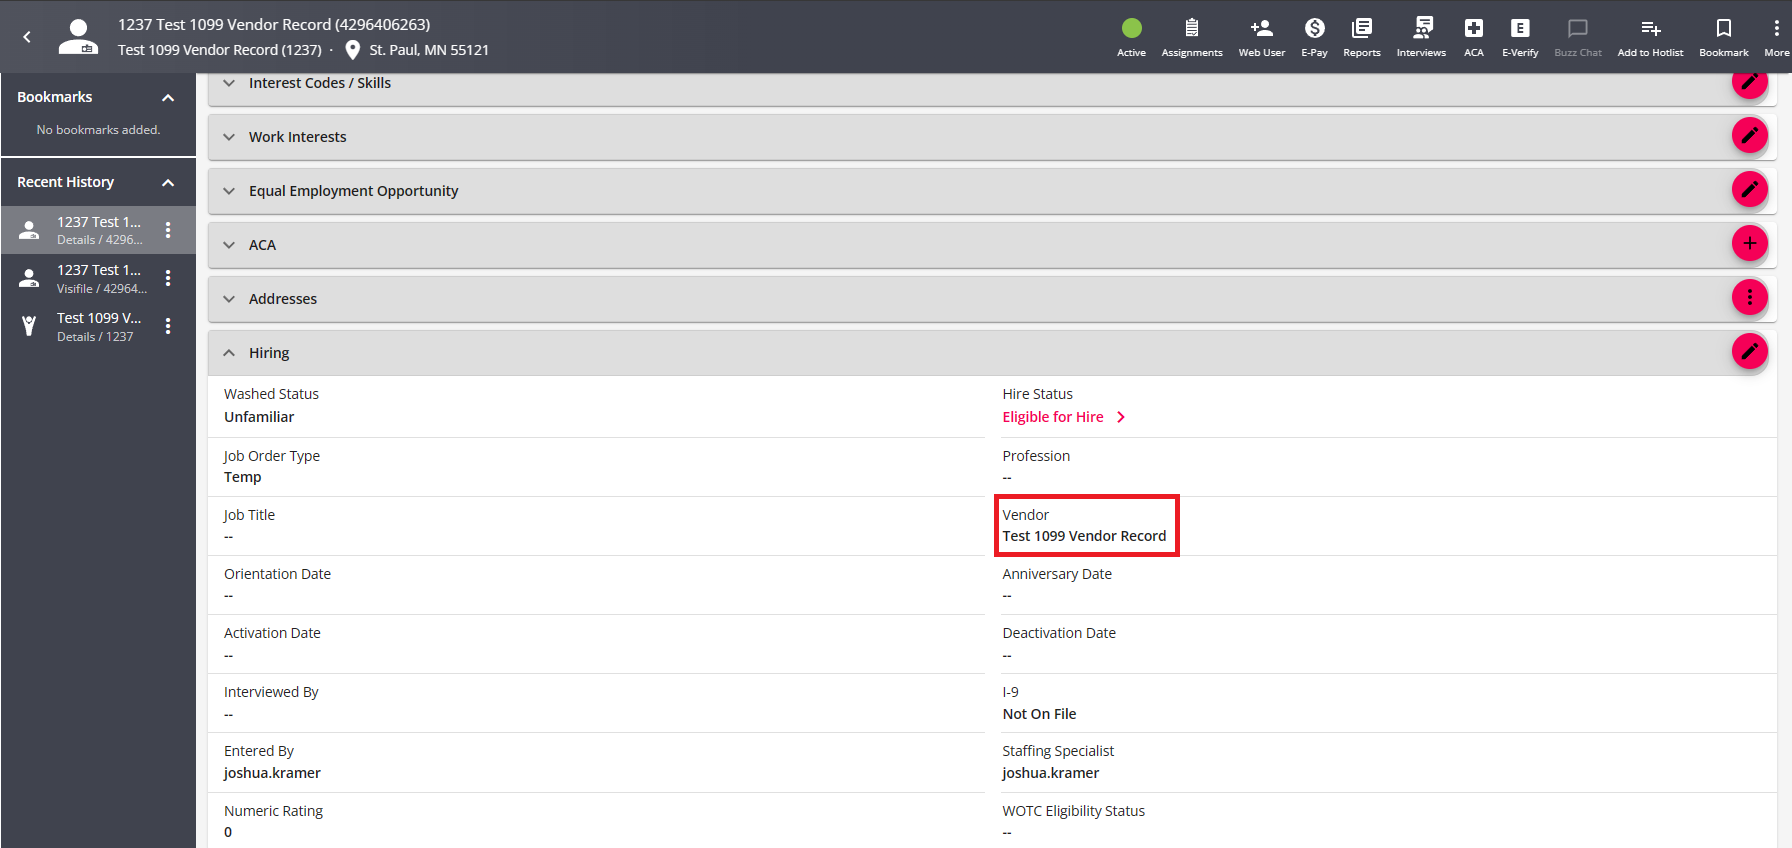
On the "Details" page of the employee, you will see that the vendor record is already associated with the 1099 employee within the "Vendor" field of the "Hiring" card:
Next Steps
*Note* If you are utilizing the Vendor Portal within WebCenter, job orders can be distributed to vendors within Enterprise and employees can be reviewed and assigned directly within the Vendor Portal of WebCenter.
For more information on distributing orders to subcontractors, please see the article titled Vendors - Distributing Orders to Subcontractors.
For more information on assigning vendor employees, please see the article titled Vendors - Assigning Vendor Employees to an Order.
Once 1099 employees are ready to be paid, please see the following article titled Vendors - Paying 1099 Employees.