What are Assignment Restrictions?
When you are ready to assign an employee to an order, the system will double check the employee record, customer defaults, and order information to make sure all the requirements have been met by this employee before they can be officially assigned.
Assignment restrictions are separated into hard stops and soft stops:
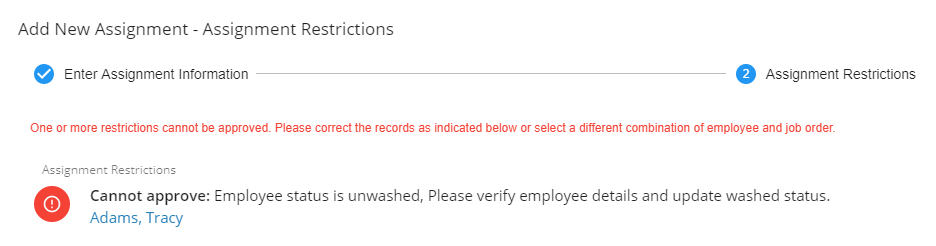
 Hard stops will prevent the recruiter from being able to make the assignment.
 Soft stops are more informational warnings. These stops will pop up but can be approved by the recruiter to complete the assignment without having to change anything on the employee record.
 Hard stops will prevent the recruiter from being able to make the assignment.
 Soft stops are more informational warnings. These stops will pop up but can be approved by the recruiter to complete the assignment without having to change anything on the employee record.
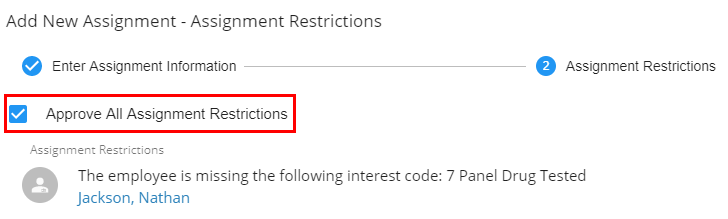
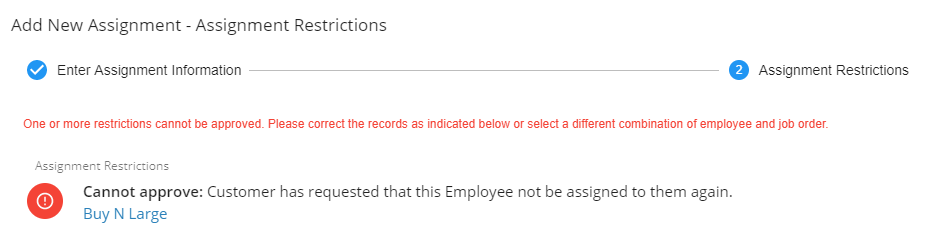
Example of a soft stop being approved:
Examples of Common Assignment Restrictions
Assignment restrictions can be customized in your system. Here are some common examples of assignment restrictions you might encounter.
System-Wide Restrictions
System-Wide Restrictions are default restrictions that apply to all employees in your system. These can be customized for your system.
Common examples of system restrictions:
- Washed Status not set to 'Familiar'
- Missing I-9
- Employee Hire Status set to 'DNA'
- Employee Activation Status set to 'Inactive'
- ACA Hire Date not set
- Custom Data field not set
These restrictions may be hard stops (cannot be bypassed) or soft stops (can be bypassed) depending on the system.
DNA Restrictions
DNA (or Do Not Assign) restrictions are case by case relationship restrictions. For example, Marilyn requests not to be sent back to your customer, 100 Acre Woods, Inc.
An assignment restriction can be set on the Employee, Customer, and/or Assignment record. Once this is done, the employee will not be able to be assigned to job orders for that customer unless the restriction is removed.
This is always a hard stop and can not be bypassed when attempting to create the assignment.
To Create a DNA Restriction on the Employee and/or Customer record:
*Note* The following example includes setting up a DNA restriction on an Employee record. The process is the same when setting up a DNA restriction on a Customer record.
Navigate to the Employee and/or Customer record in question.
Select the 'Details' tab and select the 'Do Not Assign' option within the dropdown menu:

Select the 'New DNA' option to the right for the 'Do Not Assign' window to appear:

Within the 'Do Not Assign' window, you will have the following options:
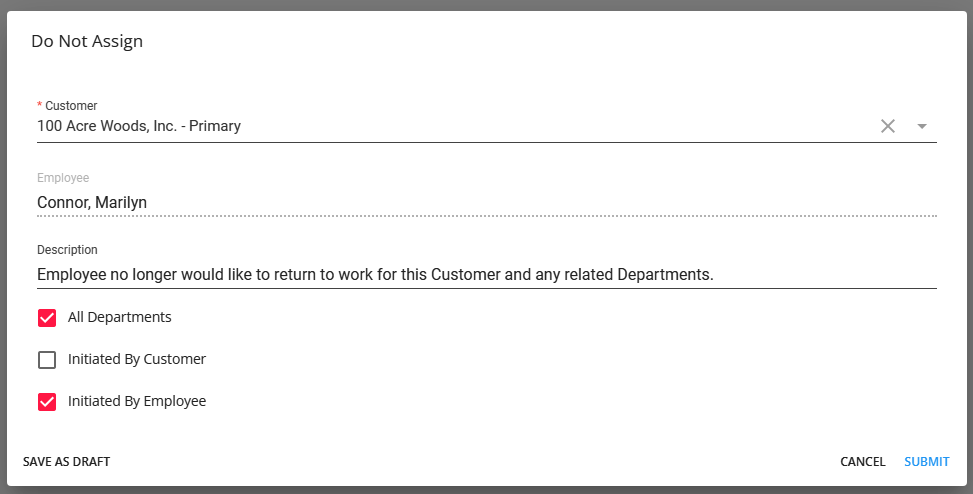
- Select the Customer record that the Employee has the DNA restriction set to (or the Employee record that the Customer has the DNA restriction set to if setting up on the Customer record).
- Add a description that explains the reasoning behind the DNA restriction.
- Select whether the DNA restriction should be enabled for all child departments of the Primary Customer record.
- Select whether the DNA restriction was initiated by the Customer.
- Select whether the DNA restriction was initiated by the Employee.
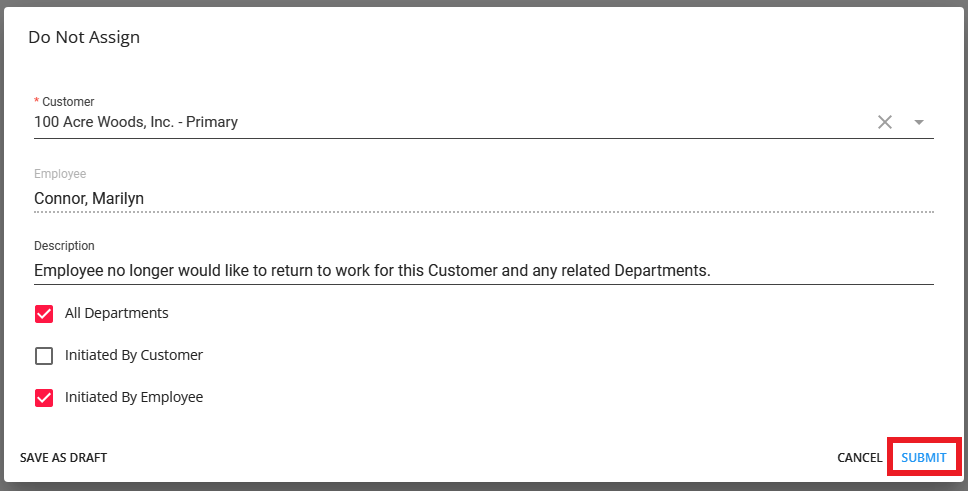
Once all of the information has been entered as intended, select the 'Submit' option:
The new DNA restriction will be shown within the Employee and/or Customer record:

To Create a DNA Restriction on the Assignment record:
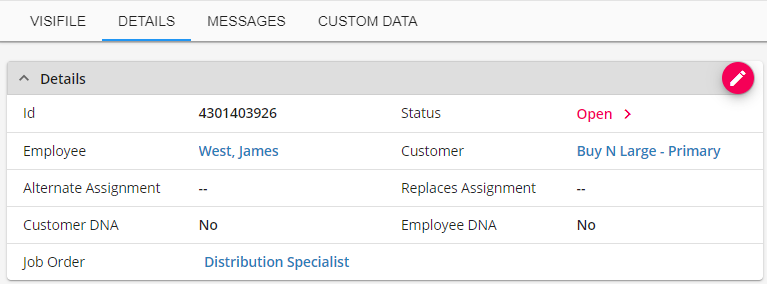
Navigate to the Assignment record in question:
Select the  button to edit:

There will be 2 checkbox options for DNA:
- Customer DNA- This suggests the customer does not want the employee to return as a worker.
- Employee DNA - This suggests the Employee does not want to return to work with the customer
*Note* Both fields may be selected mutually.
Now that this DNA has been established, an assignment restriction will flag the next time this employee is to be assigned.
*Note* If the employee is not returning to the job, make sure to set the assignment status and select an end date for the assignment to officially close it.
To Remove a DNA Restriction:
*Note* The following example includes deleting a DNA restriction from an Employee record. The process is the same when deleting a DNA restriction from a Customer record.
Navigate to the Employee and/or Customer record in question.
Select the 'Details' tab and select the 'Do Not Assign' option within the dropdown menu:

Select the  icon to the right of the DNA restriction and select 'Delete':

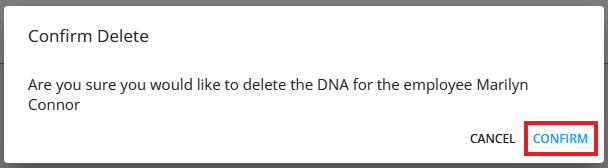
Select 'Confirm' for the deleting of the DNA restriction to occur:
Once deleted, the DNA restriction will no longer appear within the Employee and/or Customer record.
Interest Code Restrictions
Interest codes are used to tag records with key information for searching and reporting purposes. On the customer & order records, you can also set an interest code to required which means that the employee, when assigned to any order from that customer, will have to have the same interest code in order to be assigned. For more information on creating Interest codes for customers: Beyond- Managing Customer Interest Codes
When creating any assignment for orders with interest codes, any interest code marked as required will display as a soft stop restriction for employees without the exact same interest code. The interest codes card is found on the details page for both the customer & order records.

To overcome these restrictions, the user may add the relevant interest codes to the employee's record or approve the restriction by marking 'Approve All Assignment Restrictions' on the screen below:
