Getting Started
Live chat allows employees to live chat your staffing specialists.
*Note* To take advantage of this software feature, you must have access to both BuzzTM and BeyondTM . If you are not sure if you have this functionality or are interested in learning more, talk to your TempWorks account manager today!
For initial set up of the chat functionality in Buzz, you must contact your account manager.
Want to learn more about Buzz? check out What is Buzz.
Steps to Utilizing Live Chat:
If you are an admin, looking for setup options for live chat, check out Buzz - Setting Up Live Chat
Step 1: Turn on Live Chat
In order for your employees to be able to chat with your staffing specialists, the recruiter must first mark themselves as available to chat.
To mark yourself available:
- Log into Beyond
- Select Live Chat in the lower left:
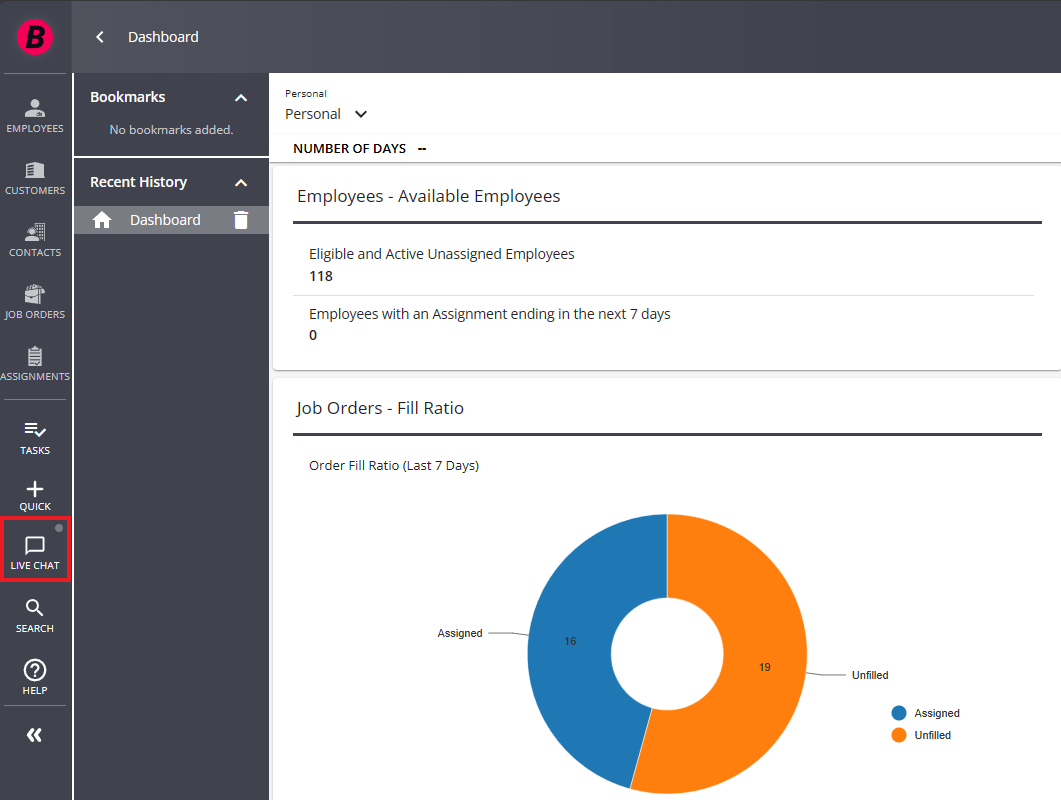
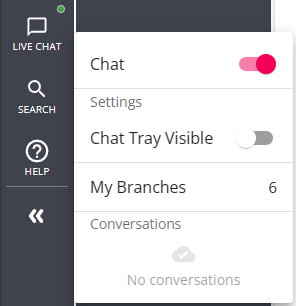
- Click on the toggle to turn on live chat:


Once you have turned on live chat you will automatically be shown as ready to chat with all the employee records where you are set as the staffing specialist:
To find staffing specialist information:
- Navigate to an employee record
- Click on the details tab and scroll down to the hiring card
- Select the
 button to update this field:
 button to update this field:
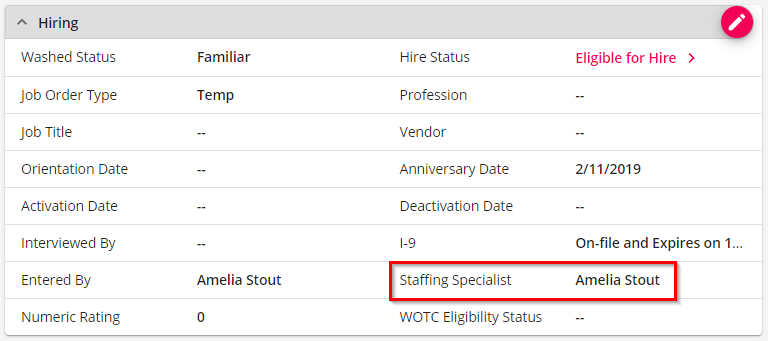
If you want to be reached by all employees at a branch, you can set yourself as an "On-Call" chat representative. This will make yourself available for all employees within a specific branch or branches.
To Set Yourself as an "On-Call" Rep:
*Note* In order to be set as an "On-Call" rep you must first have the security group permission: "Can use On-Call Chat Functionality". Talk to your admin or check out Buzz - Setting Up Live Chat for more information.
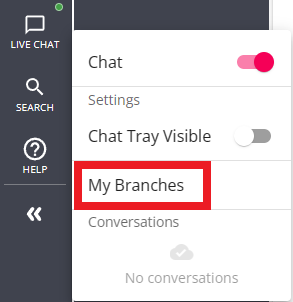
- Tap on the live chat icon in the lower left.
- Select My Branches
- Check the branch or branches you want to be available for:
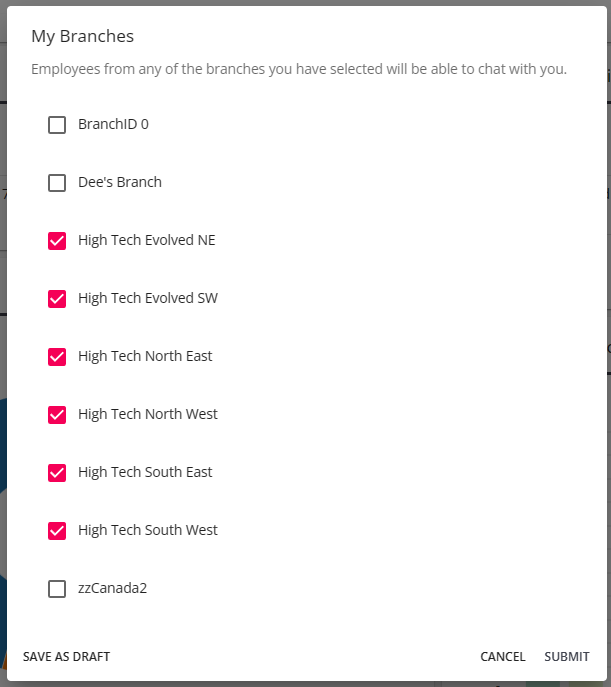
- Select Submit


The number of branches you are set to be available for is located next to the my branches option: 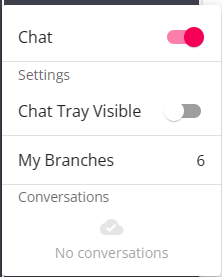
Don't forget to deselect branches or turn off live chat when you no longer want to be available to employees!
Step 2: Initiating a Chat Session
Chat sessions can be started by the employee or by the recruiter.
Employee Initiates Chat
Employees will be able to log into Buzz and select the chat option along the bottom:
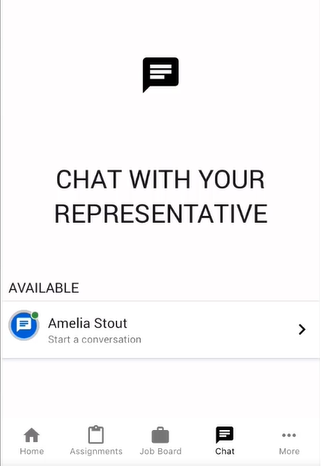
Here they will see all available reps. This includes the reps that have turned on live chat and are either set as the staffing specialist on the employee's record or set as an on-call rep for the branch the employee belongs to.
Once they select the specialist's name, the recruiter will be alerted at the bottom of the screen in Beyond:

Recruiter Initiates Chat
Any recruiter can initiate a chat with with any employee, regardless of if they are set as the employee's staffing specialist.
- In Beyond, navigate to the employee record you wish to chat with
- Select the Chat Charm:

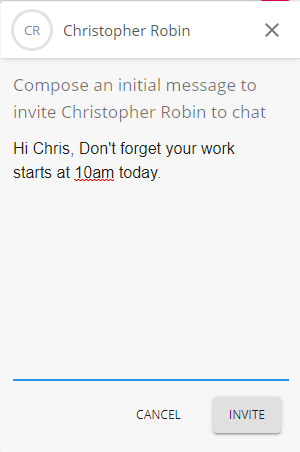
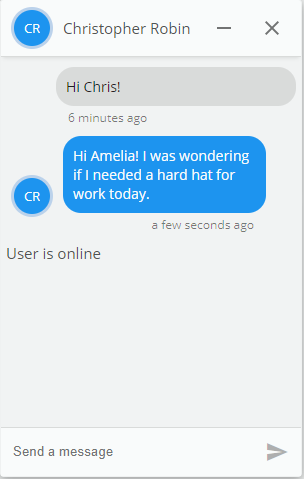
- A new chat window will appear. Enter the initial message to invite:
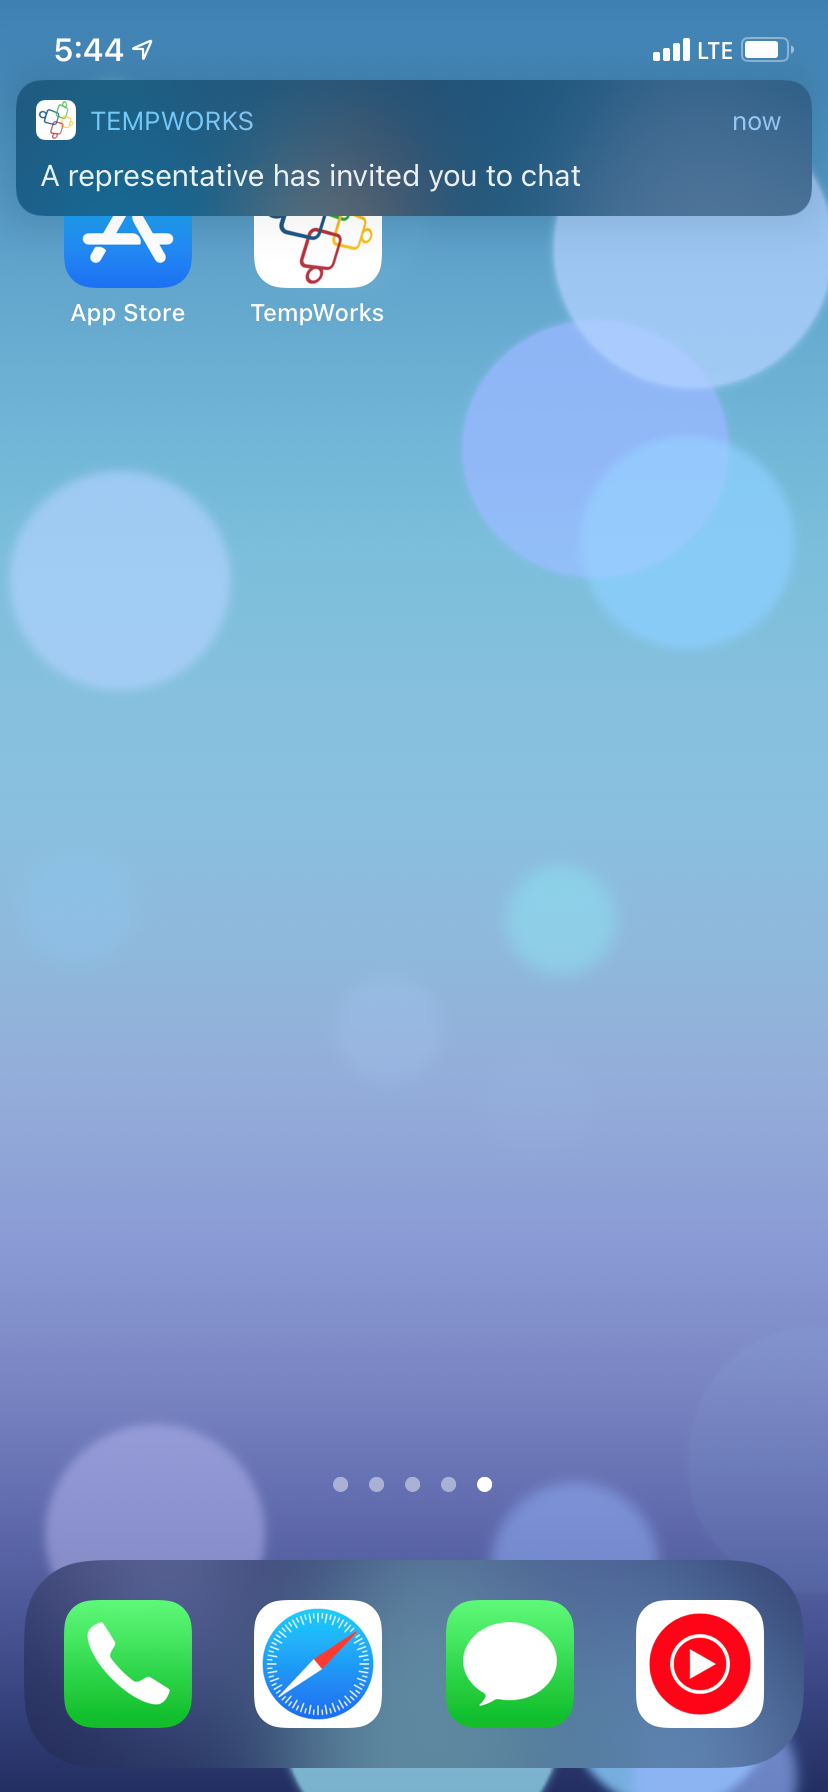
- The employee will receive a notification (as long as they have notifications enabled) to chat.


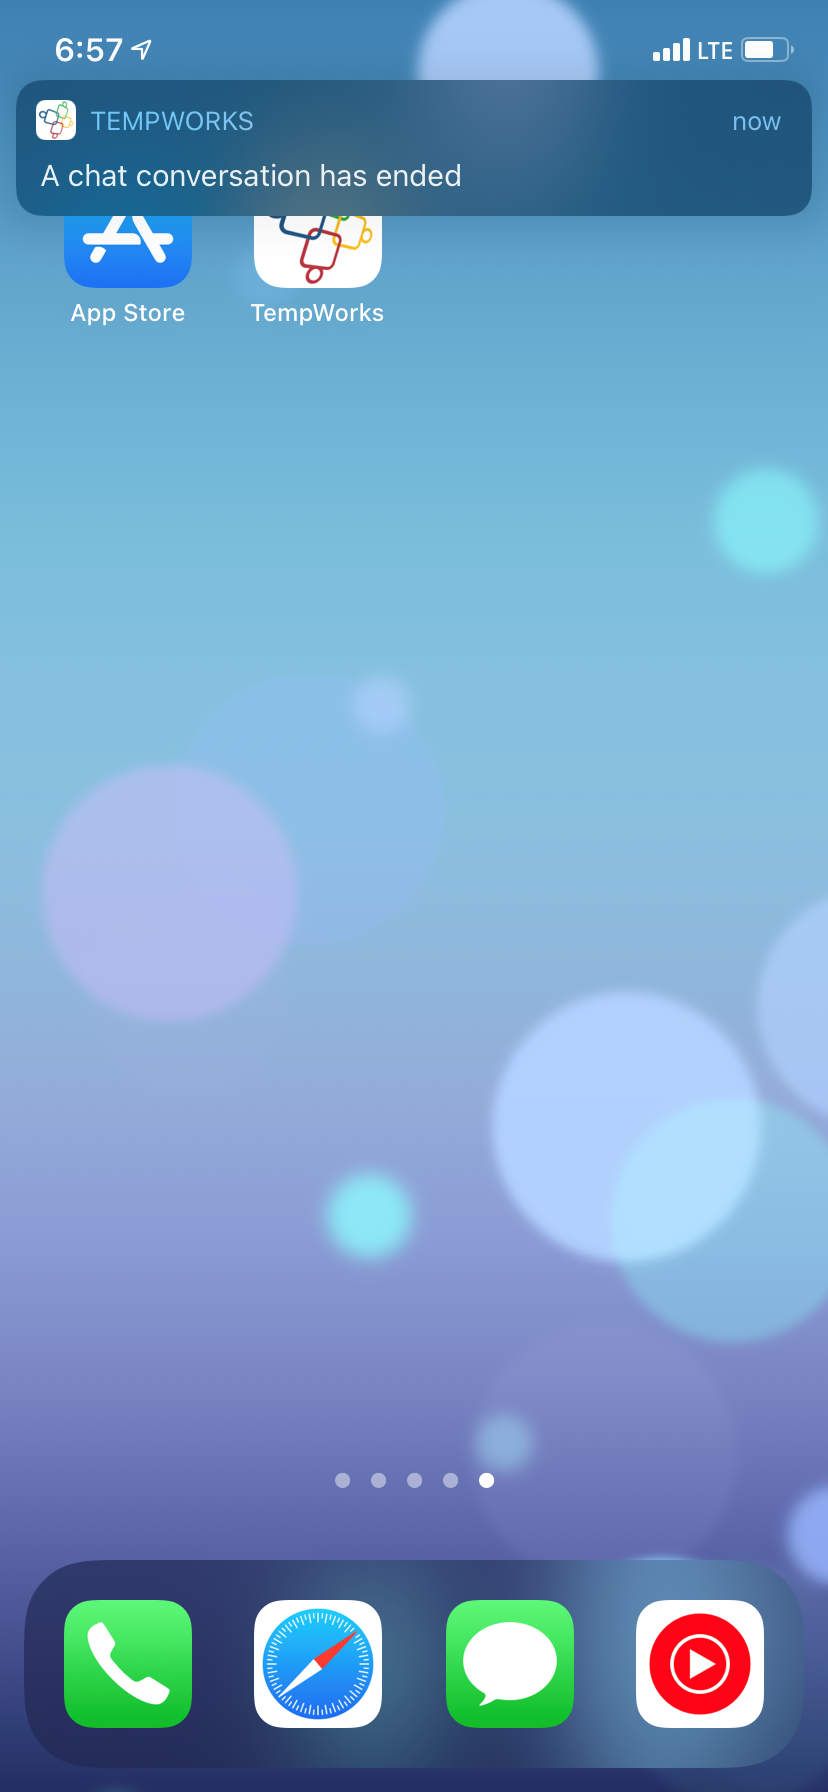
*NOTE* Below are examples as to what those notifications might looked like depending on the brand of the device/tablet being used by the employee.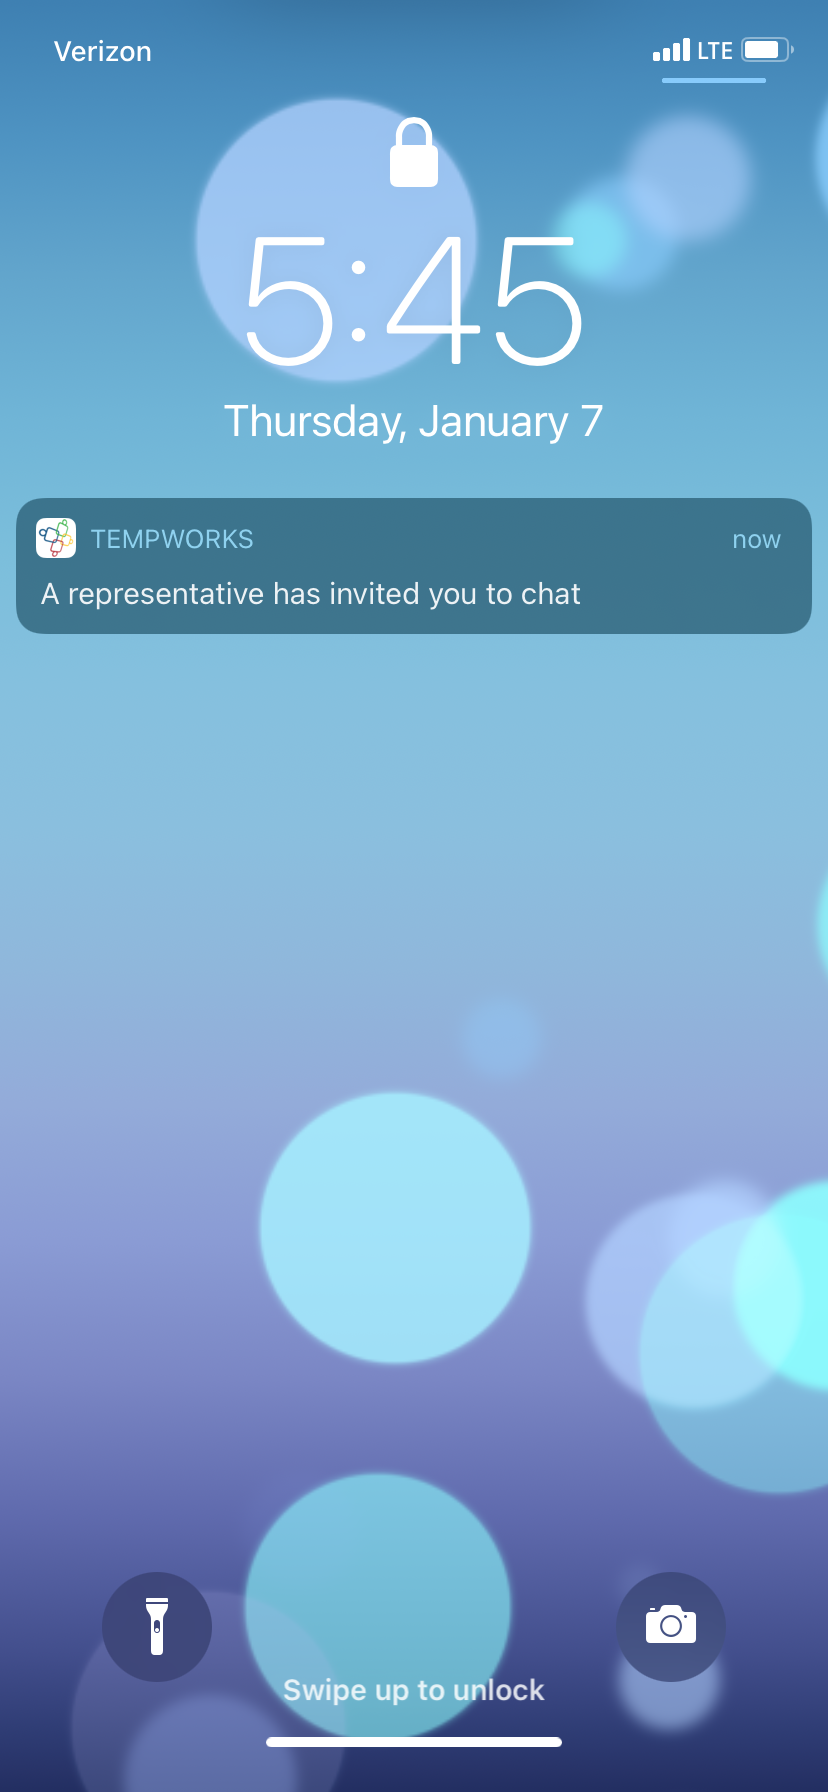
Step 3: Accepting the Chat
Recruiters will need to accept the chat if the employee initiates the conversation. If the recruiter initiates the conversation, the employee will be notified and will be brought to the chat once they open the app.
Recruiter Accepting Chat
Once an employee initiates a chat, a request is sent to the staffing specialist. They will be able to accept or deny the chat: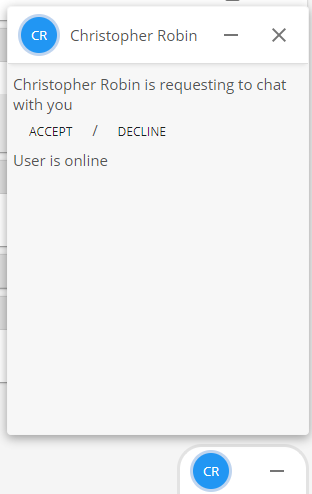
Once the staffing specialist has accepted the chat, the employee and staff will be able to chat back and forth.
Staffing Specialist View:
Employee's View: 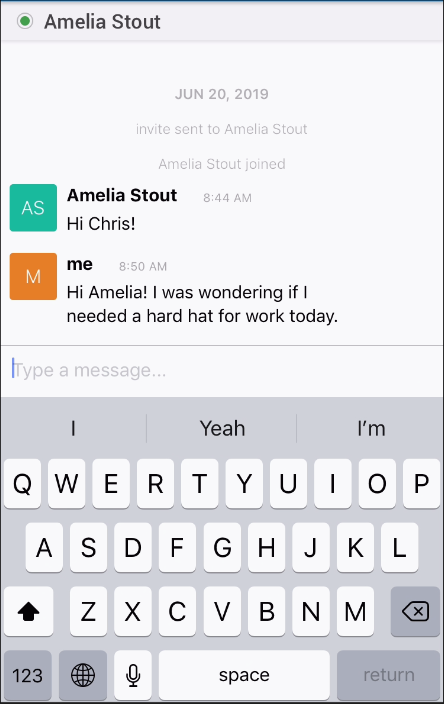
*NOTE* If the employee initiates the chat, the service rep does not select to view the chat in Beyond, and the employee navigates away and selects "Yes" (shown in the screenshot below) there will be no way for the service rep to know if the employee was attempting to chat with them; it is not documented anywhere. However, if the employee selects "No" (shown in the screen shot below) the service rep will still be notified with the pop up at the bottom of their beyond screen as well as seeing the conversation in their chat icon when selecting it in the lower left hand corner of their beyond screen.

*NOTE* If the service rep has their "chat tray visible" (seen in the chat icon in the lower left hand corner) toggled to on, they will also see the chat in the lower right hand corner of their beyond screen.
Step 4: Ending a Chat Session
Once you are done chatting, the recruiter can close out the chat box to end the conversation: 
A warning message will pop up to ask if you are sure you want to end the conversation. Select yes to save and end: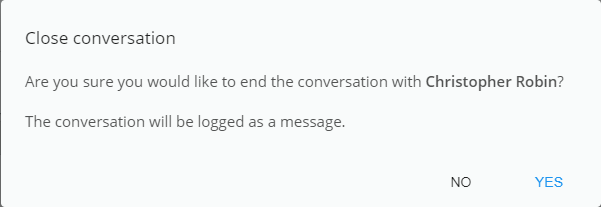
A message will be logged on the employee's file with the chat log details:

*NOTE* Below is an example of what a notification to the employee would look like (depending on the device/tablet) if the chat is ended or is declined by the service rep. The employee with receive these push notifications (if enabled on their device/tablet) indicating the the service rep has ended the chat; this is the exact same notification if the chat was declined.