Within the WebCenter customer and employee portals, documents can be shared. These documents are not interactive like HRCenter, but instead allow you to share files and documents with the employee or contact that can be accessed at any time.
For example, perhaps you always want your employees to have electronic access to their employee handbook or you would like customers to have access to documents that discuss the benefits employee's receive by being employed through you.
Like all things in WebCenter, document accessibility can be configured to give everyone access, or, just one person access! We'll take a look at how we add documents and define accessibility in the steps below.
Adding a Document in WebCenter
Begin by logging in to WebCenter Admin. In the options menu across the top, select documents:

Once there, select 'Choose File.' This will open the file explorer on your local machine, allowing you to select the file you would like to upload:
With the file now selected, enter a document title, document description, and select 'Upload':
Configuring Document Rules
After the document successfully uploads, the next step is to define who should be able to access the document. We do this by configuring rules.
Begin by selecting show rules:

In this example, we have said that when the Origin Type (i.e. record type) is Employee, show the document:
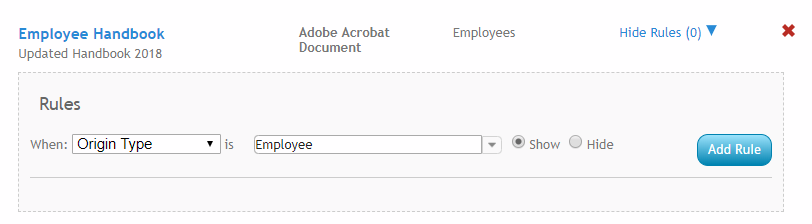
*Note* The rule we created is just one of many possible combinations, and that one document can have multiple rules. For example, we could also say that when the branch name is Memphis NE hide the document. So, even though we selected to show the document to employees, if an employee is tied to the Memphis NE branch, they will not see the document:

Documents Displayed in WebCenter
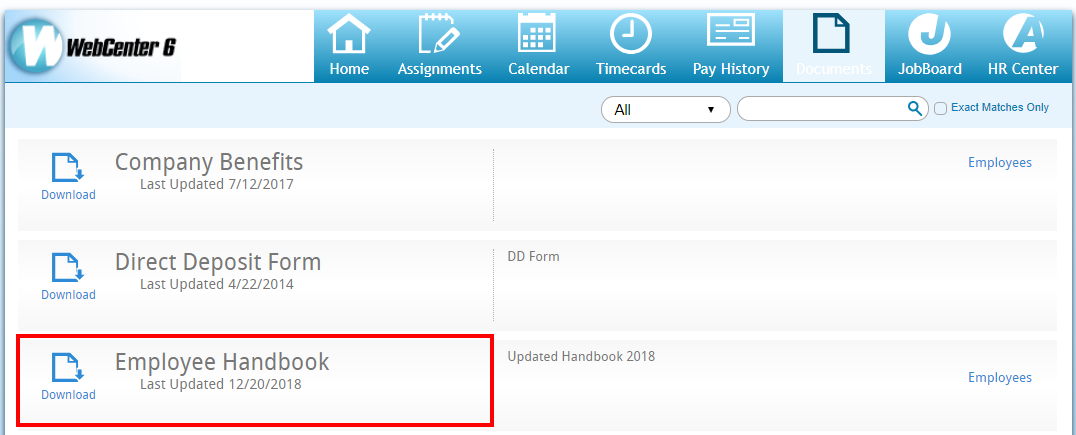
To bring this full circle, let's take a peek at what employee sees when accessing their portal.
From the documents tab, the Employee Handbook displays for download:
Related Articles
- None