Pages
In HRCenter applicants/employees work with applications called "workflows". Every "workflow" in HRCenter is made up of "steps" and those steps are made up of "pages". An easy way to illustrate this is to think of workflows as a book and the steps are the chapters. That means that pages are the individual sections (ex. Work History, Education, Resume) an applicant will fill out during each step. There are three types of pages:
- Information pages
- Survey pages
- Forms Pages

Form Pages
Form pages are made from forms that have been created using Form Builder. These pages will produce digital documents that will be saved on the employee's record. Any form that is built in form builder must be added as a page in order to be placed in a workflow.
Creating a New Form Page
From the 'Pages' section, select the 'New' button to create a page:

This will open the 'Create Page' Wizard:
Select the page type 'Form'. You may now name your page:
- The 'Internal Name' is the internal title for this page as it pertains to administration.
- The 'Display Name' is what applicants will see.
Often times the internal and display name can be the same.
Select the '>' icon to continue to step two:

On the next step of the wizard you may specify whether you would like to create a page using a premade form or if you wish to create a new custom form:

Premade Forms
Premade forms have already been built within Form Builder. A form page may be composed of a single form from Form Builder or be made from two forms. These forms will be merged into a single digital document that will be be added to the applicant/employee's record upon the completing of the workflow/application.
Forms can be signed/filled out by the applicant, the service rep, or both.
Select the form that each party should be interacting with. You may then determine whether the applicant/or service rep should sign/fill-out that document first or second.
Below are a couple examples of forms that might be set up and configured in this section:
Applicant Only Signed Form
In the example below, the form will be composed of a direct deposit form. The applicant will be the only one to sign the document and upon finishing the document, will be added to their employee record. For this example, the 'Service Rep' field and 'Service Rep Signer Order' field should be set to '--None--'

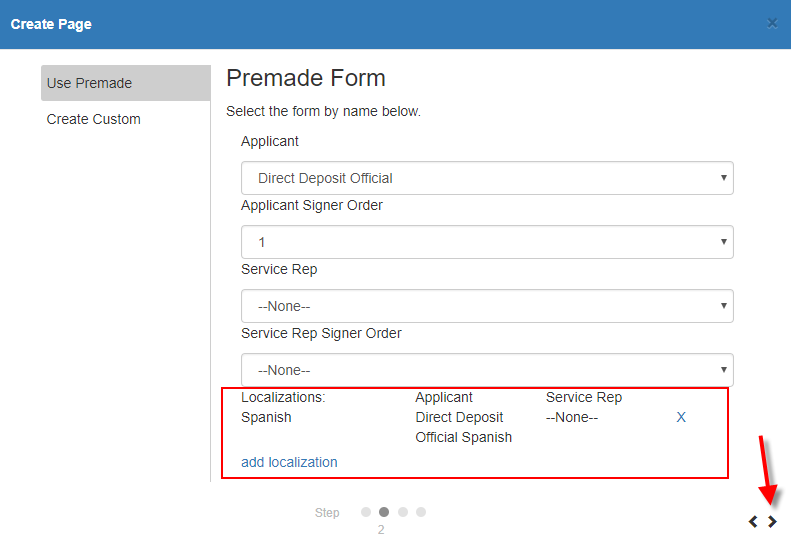
Applicant and Service Rep Signed Form
In the example below, the form page will be composed of two different versions of an offer letter form.
- One form has fields the applicant/employee is meant to edit and then sign.
- The other has fields the service rep is intended to edit and sign.
In this example, the service rep will be interacting with the document first. After they have completed the document, the workflow/page will be available to the employee. This is an example of a service rep first page.
*Note* For more information about service rep first workflows' check out Recruiter First Workflows/Pages.

*Note* Signer order refers to the order in which the documents we be interacted with. If the applicant should sign a document first, they should have their form set to '1' and the service rep should have theirs set to '2'.
Localization
The 'add localization' option allows users to display the form in different languages:

*Note* If this page should be listed in any language other than English, the form needs to have already been built in the desired language via the HRCenter Form Builder.
After selecting 'add localization', you will be able to select the language representing the form:
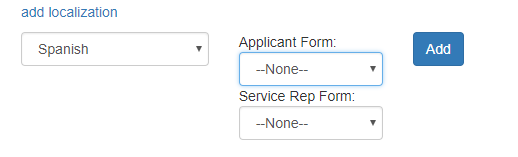
Select the appropriate form for each party. When you have determined the correct form for the applicant and/or the service rep, select 'Add'.

The localization will now display within the wizard. If you would like to remove the localization, you may do so by selecting the 'x' icon. Select '>' to continue:
Create Custom Forms
*Note* Before getting started, please see When and When Not to Use the HRCenter Form Builder to determine whether or not a custom form will need to be developed. If you have determined that a custom form is not necessary, please see the articles for HRCenter Form Builder and HRCenter Admin: Form Builder.
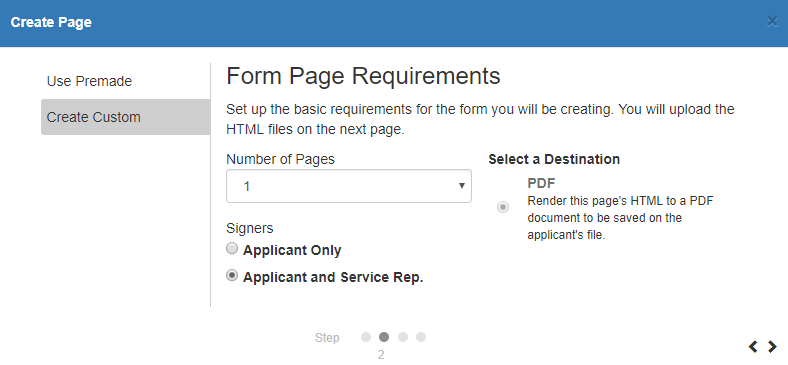
Configuring a Form Page
Within this step, users will have the options to specify additional details related to their form page:

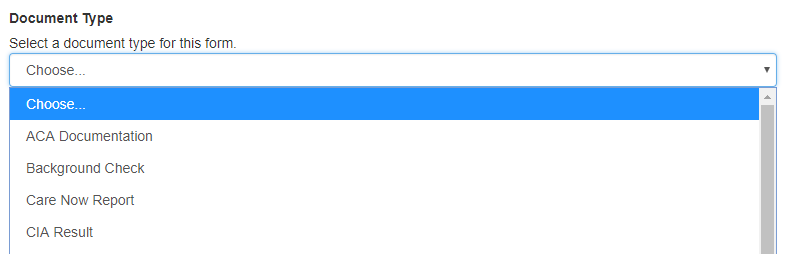
- Document Type: This field determines the type that the document will be given when it is created and added to the employee's record. For more advanced options, check out HRCenter Document Mapping.
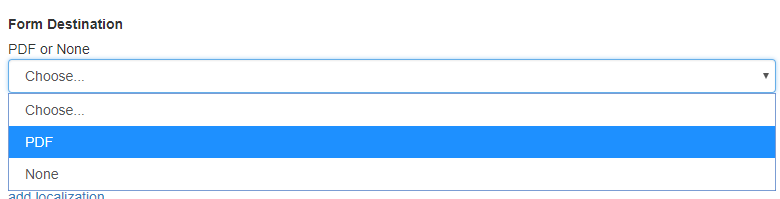
- Form Destination: To have the document saved as a PDF, set this field to PDF.
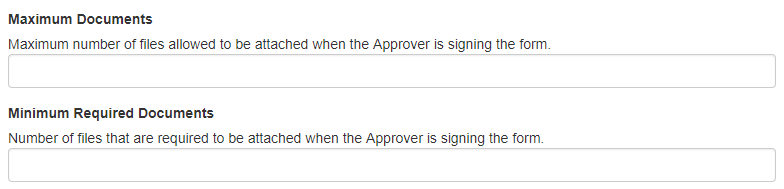
- Maximum and Minimum Documents: If the form was built with the intent of having the service rep upload a document in tandem with the created document, these fields may be used to force the processor to include an uploaded document(s) that will also be attached to final digital document. A common example is a document like an I-9 which would require a service rep to also upload valid I-9 documents (ID, passport, social security card).
- Employee or Service Rep Signature Text Override: This allows you to change what text displays above the signature line when an employee or service rep signs the form (Click the add localization option to add a Spanish translation)


*Note* The category, postfill, and prefill procedure fields are managed/used by TempWorks. Please contact your TempWorks representative if you would like to discuss advanced configuration details and options.
Select '>' to continue:
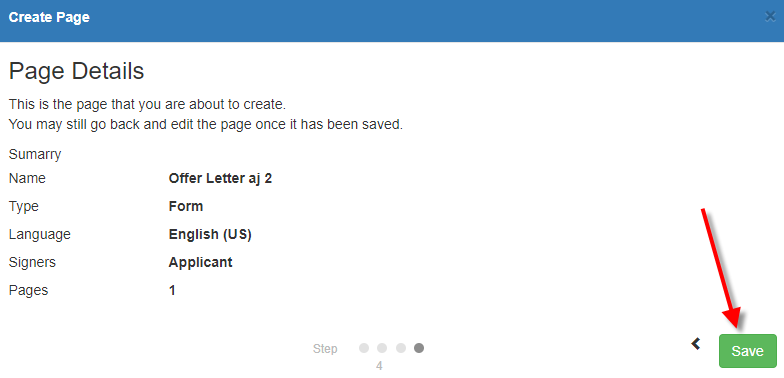
Page Details
The final section of the wizard will provide a summary of the form page that will be created. After selecting the 'save' button, the page will be available to insert into a workflow or send to an applicant/employee as an individual page:
Additional Configuration Options
Once you have created your form as a page, it can now be added to a workflow. There are additional configurations to consider when utilizing forms in HRCenter.
In HRCenter Admin, Navigate to Tenants and take a look at Application configurations for more form related settings.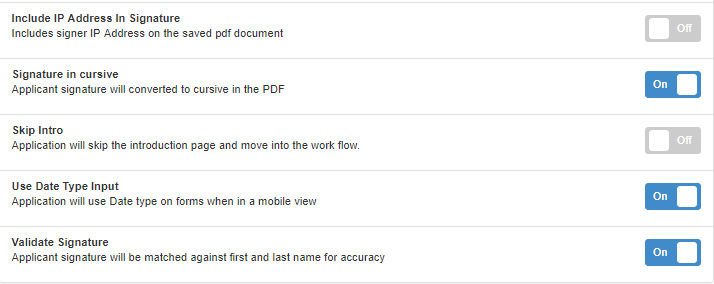
- Include IP Address In Signature: When this option when turned on, it will include the users IP address in the e-signature stamp on the PDF document that is saved to the employee's record.
- Signature in Cursive: When this option is turned on, after an applicant signs, the applicant's name will appear in cursive on the signature line in addition to the e-signature stamp.
- Validate Signature: When this option is turned on, the system will double check the signature versus the first and last name of the employee to ensure they are signing their own full name.