What is SHL?
SHL provides your team with the tools to accurately assess your candidates for different skills, behavioral tests, etc. With the Enterprise integration, your team will be able to assign tests and get results without ever leaving Enterprise.
Learn more about SHL here: https://www.shl.com/en/assessments/
This article includes:
- Setting Up SHL
- Using the SHL Integration
Setting Up SHL
*Note* In order to set up SHL, you will need to work with the TempWorks team before you can set up credentials. Talk to your TempWorks Account Manager today for more information.
Once you have worked with your TempWorks Account Manager to initialize your system, you will be asked to enter your SHL credentials into Enterprise in order to sync information.
To Enter Your SHL Credentials:
- Navigate to All Options > Administration > External Service:
- Select SHL and click the '+' to add credentials
- Enter the following information:
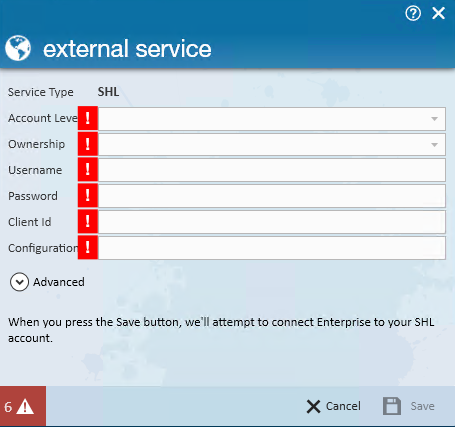
- Account Level
- Ownership
- Username - (Provided by SHL) - Same as Client Id and Configuration
- Password - (Provided by SHL)
- Client Id - (Provided by SHL) - Same as Username and Configuration
- Configuration - (Provided by SHL) - Same as Username and Client Id
- Additionally, there are options within the Advanced sub menu:
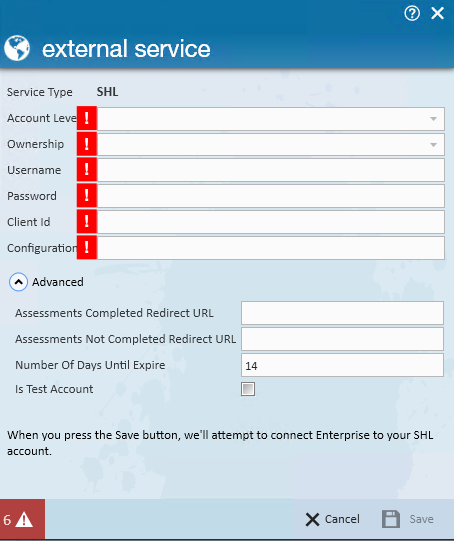
- Assessments Completed Redirect URL
- Assessments Not Completed Redirect URL
- Number of Days Until Expire
- Is Test Account
- Select Save once credentials have been added


*Note* Once credentials have been saved, a connection attempt is made with SHL to verify the account is setup correctly.
If you ever need to update this information, use the Pencil in the upper right to edit or the X to remove credentials.
Using the SHL Integration
Once you have gone through the initial set up process and entered your credentials, your team will be able to use the SHL integration in Enterprise.
This article will cover:
- How to Assign Assessments
- How to View Assessment Results
Assigning Assessments
- Navigate to the employee's record that you want to assign an assessment package to
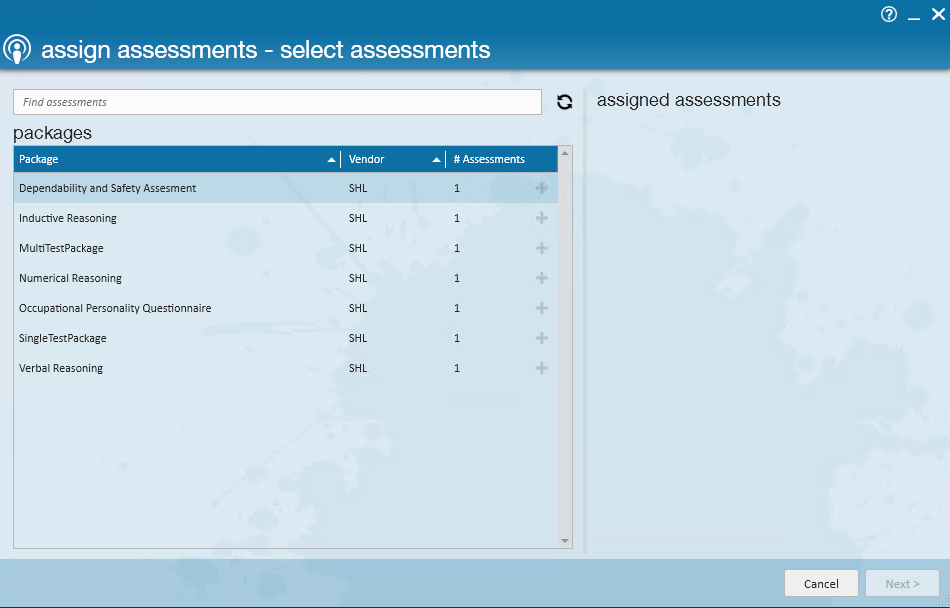
- Select the Actions menu and choose Assign Assessments
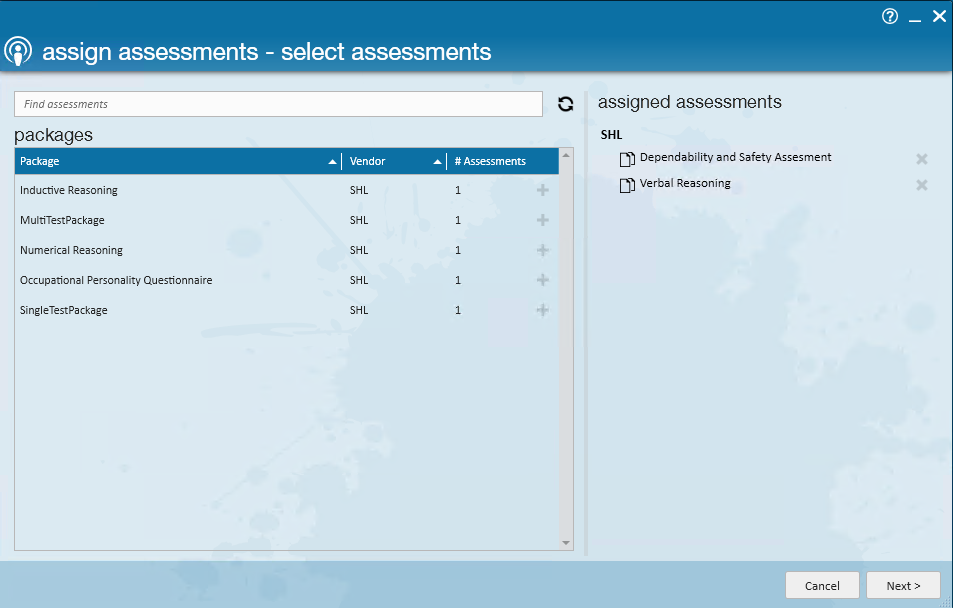
- A new window will open, review the assessment packages available and double click the package(s) you want to assign
- Once all packages you want to include are listed on the right, under Assigned Assessments, select next
- Review the employee information to ensure name and email are correct
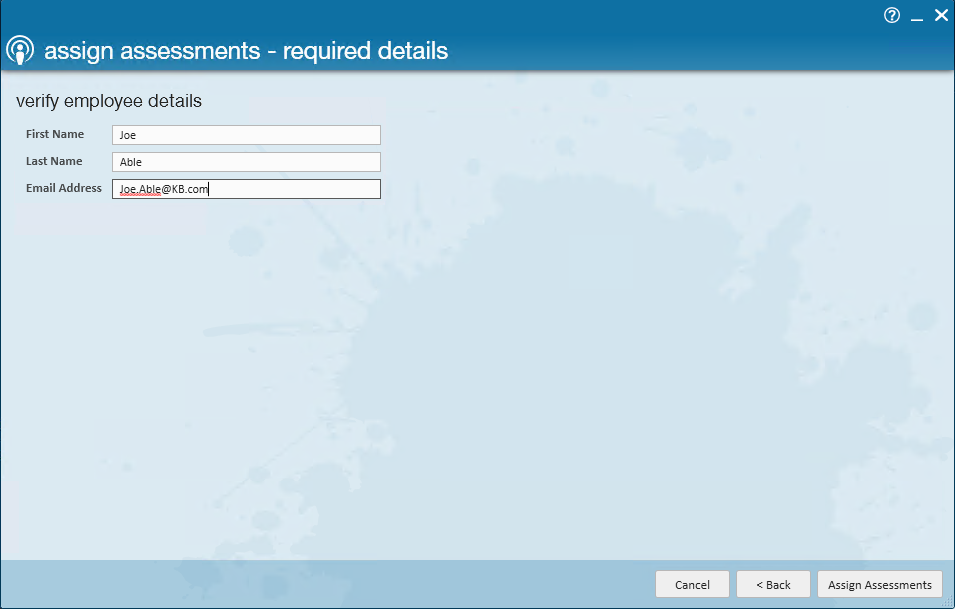
- Select Assign Assessments


The assessment packages are now assigned but you will still need to email your employee the URL link to notify them that they need to complete the assessment packages.
*Note* If you have migrated from the Kenexa/Assess on Cloud integration, keep in mind the following differences:
- You can only assign packages - not individual assessments
- An email will not automatically be sent to employees when you assign an assessment package
To Send an Email:
- Once the package or packages have been assigned to the employee, there will be two buttons you can select from:
- Copy URL

Viewing Results
Assessment Package Statuses
When viewing assessment packages you will see two status options:
- Pending - employee has not completed the assessment packages yet
- Complete - employee has completed all the assessment packages included
Once an employee has completed an assessment package, you will be able to see results directly in Enterprise.
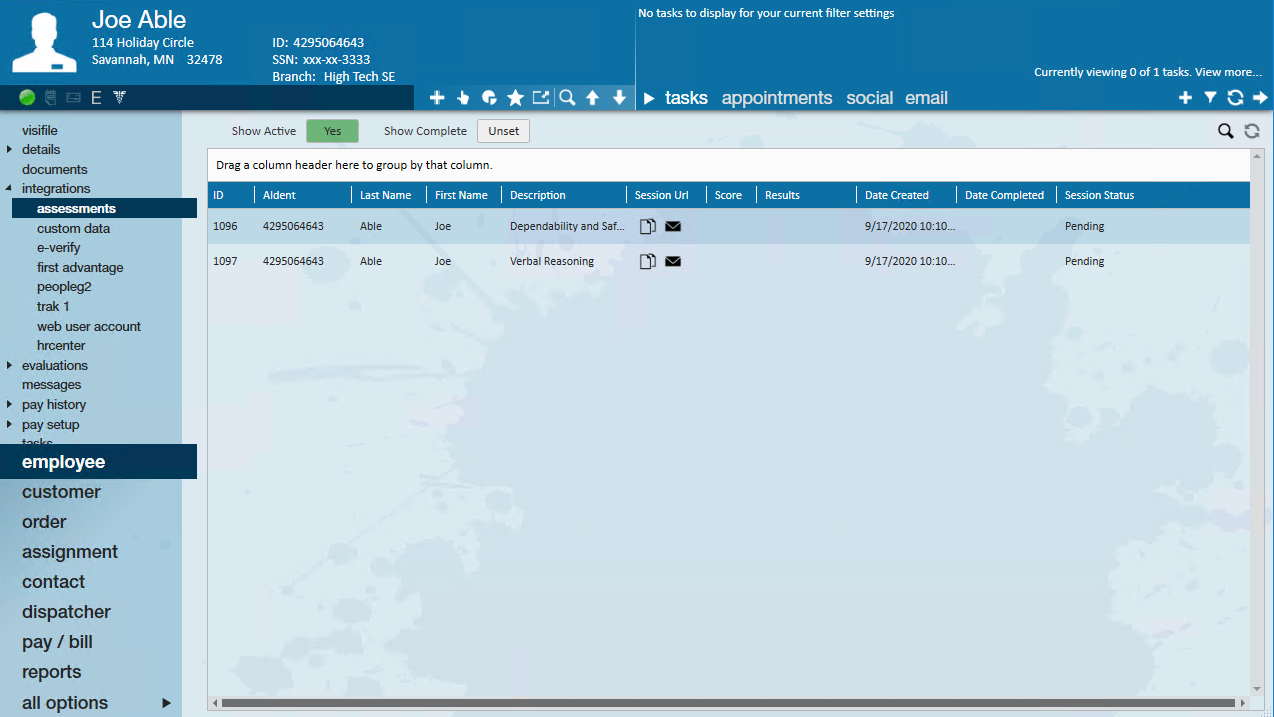
From the Employee Record
- Navigate to the Employee's record you want to view results for
- Select Integrations > Assessments on the left
- Each package that has results available will show a Results button
- Once you click the results button, you will be able to view the results in a new window

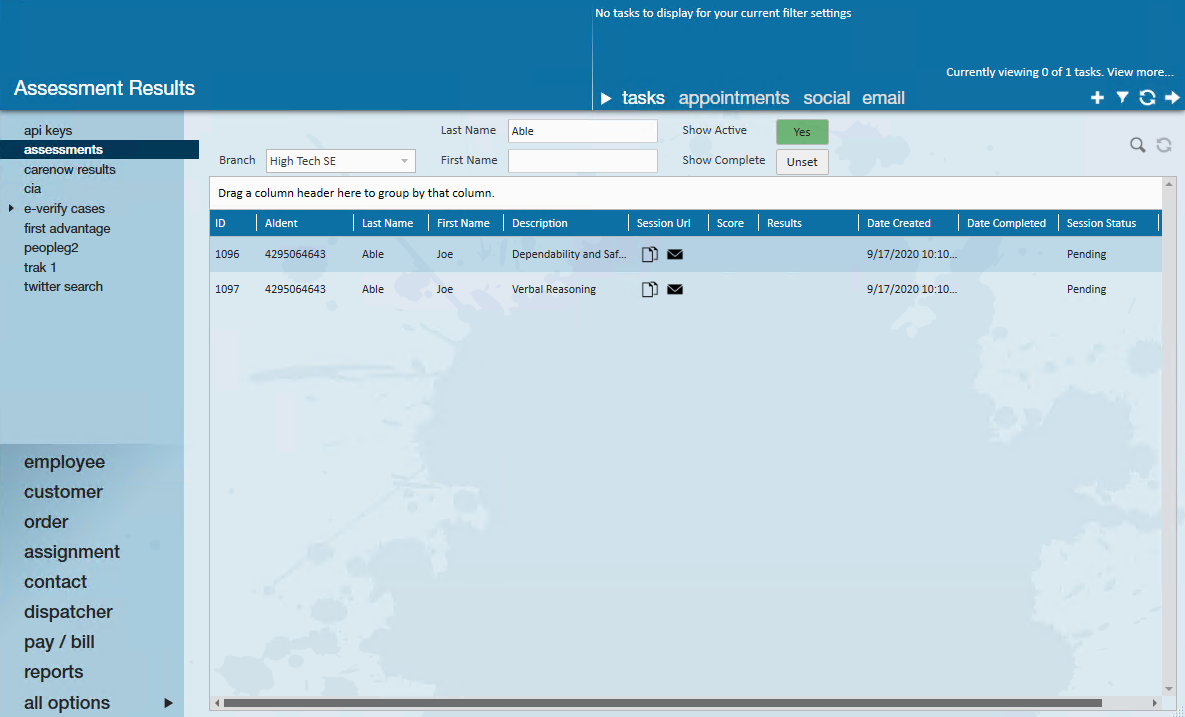
From the Assessment Search
- Navigate to All Options > Integrations
- Select Assessments
- Here will list all assessment packages assigned, use the search options to search for the employee/assessment package you are looking for
- Use the Results button to view the results in a new window

*Note* Keep in mind that results can expire with SHL. Results will only display after everything in a package is completed.
Related Articles
- None