Overview
Required documents allow you to store, track, and manage documents that are required for employees.
Users in Beyond have the ability to add and manage required documents on Customer, Job Order, and Employee records.
*Note* Required Document functionality is backwards compatible between Enterprise and Beyond. This means when a Required Document is created, modified, or removed within Enterprise, the same take place within Beyond. The process is the same from Beyond to Enterprise.
This article covers the following for Required Document Types:
*Note* This article is part of a series that outlines how to utilize Required Documents in Beyond. For more information, please see the following articles:
Adding Required Document Types
Before being able to add required documents to a specific record type (Customer, Job Order, Employee), the corresponding required document type must be added within Beyond.
*Note* In order to see system settings or manage users you will need to have the "can administrate" permission. If you are missing this functionality and you are the Admin for your team, reach out to your TempWorks' Account Manager or our TempWorks' Support Team.
*Note* In order to view/add/edit Required Documents in Beyond, you must have the proper Security Group of Document Type with Read/Write permissions.
To begin, navigate to B Menu > System Settings > Required Document Types. You will be shown the list of required document types associated with your system:
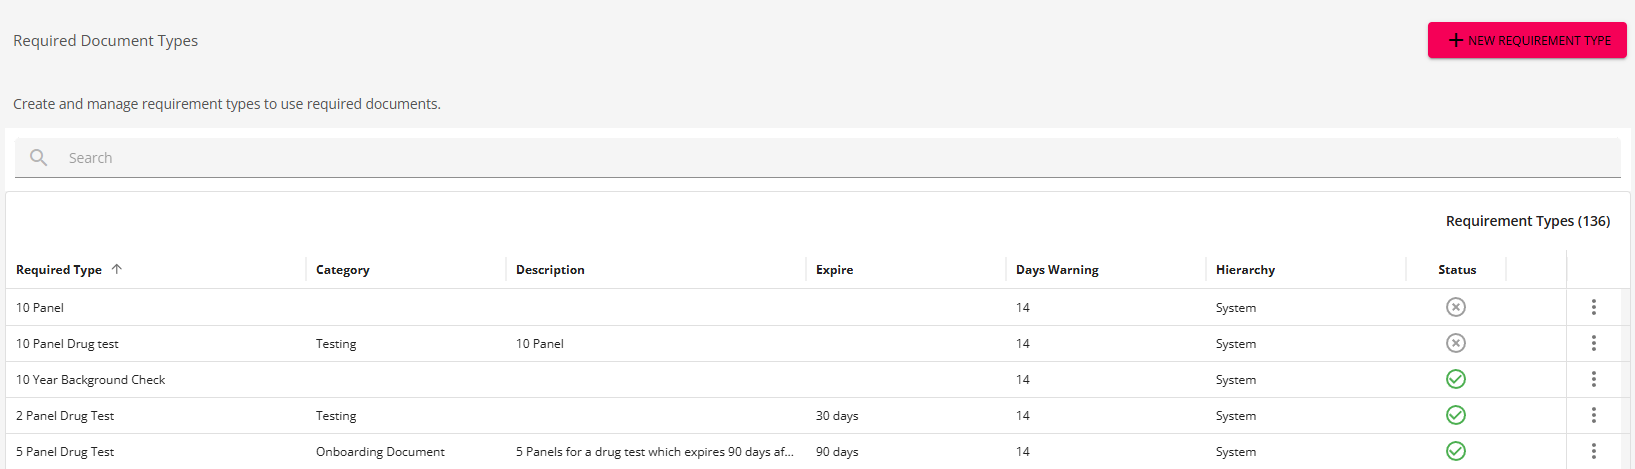
*Note* You can search and filter the required document types within the list by utilizing the Search bar and header filters:

Select the option for "+ New Requirement Type" at the top right to open a new window to add the requirement type:
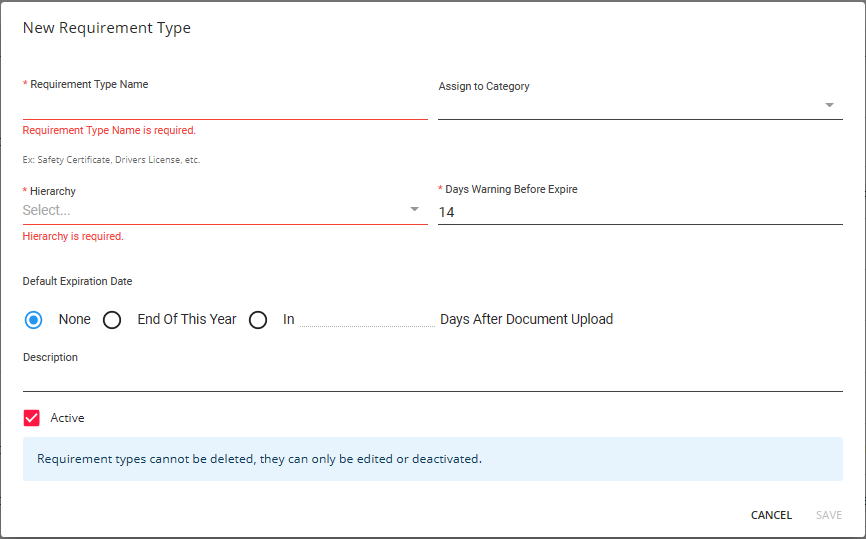
Enter the following information:
- Required Type Name: The name of the required document type.
- Assign to Category: The category that the required document type will be assigned to.
- Hierarchy: The hierarchy that the required document type will be accessible within.
- Days Warning Before Expire: A warning will appear for the user when the required document is this many days before expiring.
- Default Expiration Date: This can either be "None", "End Of This Year", or an amount of days after the upload of the required document.
- Description: The description of the required document type.
- Active: Select whether or not the required document type is Active.
*Note* If you would like additional Categories, please contact TempWorks Support to get them setup.
*Note* Required Document Types are unable to be deleted. They are only able to be edited or deactivated.
Once all of the required information has been entered, select "Save" within the window:
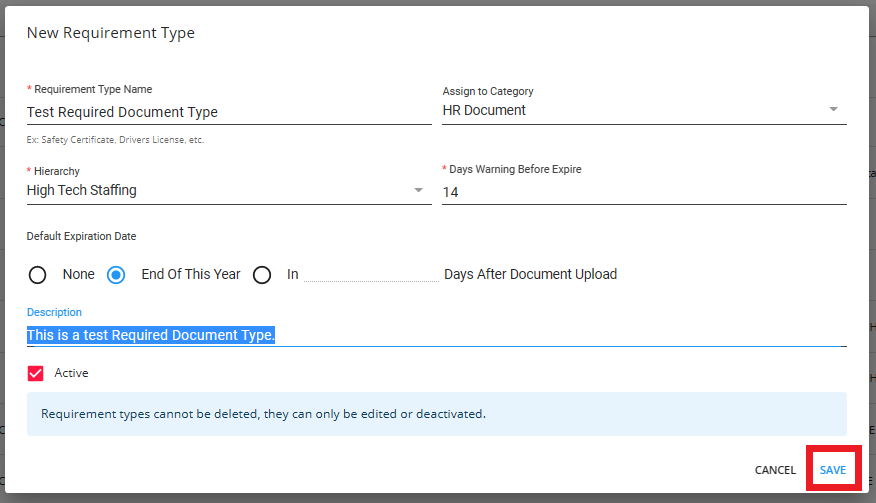
The newly created Required Document Type will now appear within the main list.
With the Required Document Type created, you have the ability to do the following:
- Edit
- Deactivate
Editing Required Document Types
To edit the Required Document Type, select the  icon to the right of the item and select "Edit".
You will be navigated back to "Edit Required Document" window with the same functionality as adding a new Required Document Type:
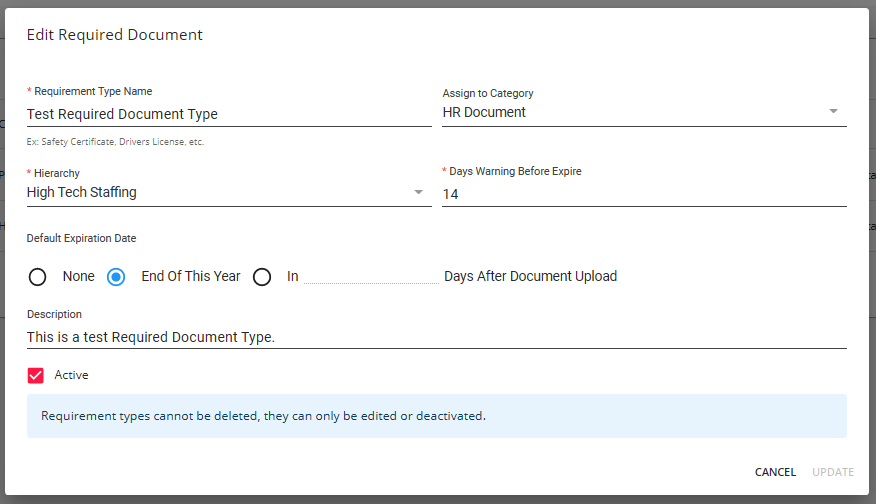
Once the changes are complete, select "Update" for the changes to be saved.
Deactivating Required Document Types
To deactivate the Required Document Type, select the  icon to the right of the item and select "Deactivate".
The Required Document Type will now show within the list as Deactivated.
*Note* This article is part of a series that outlines how to utilize Required Documents in Beyond. For more information, please see the following articles: